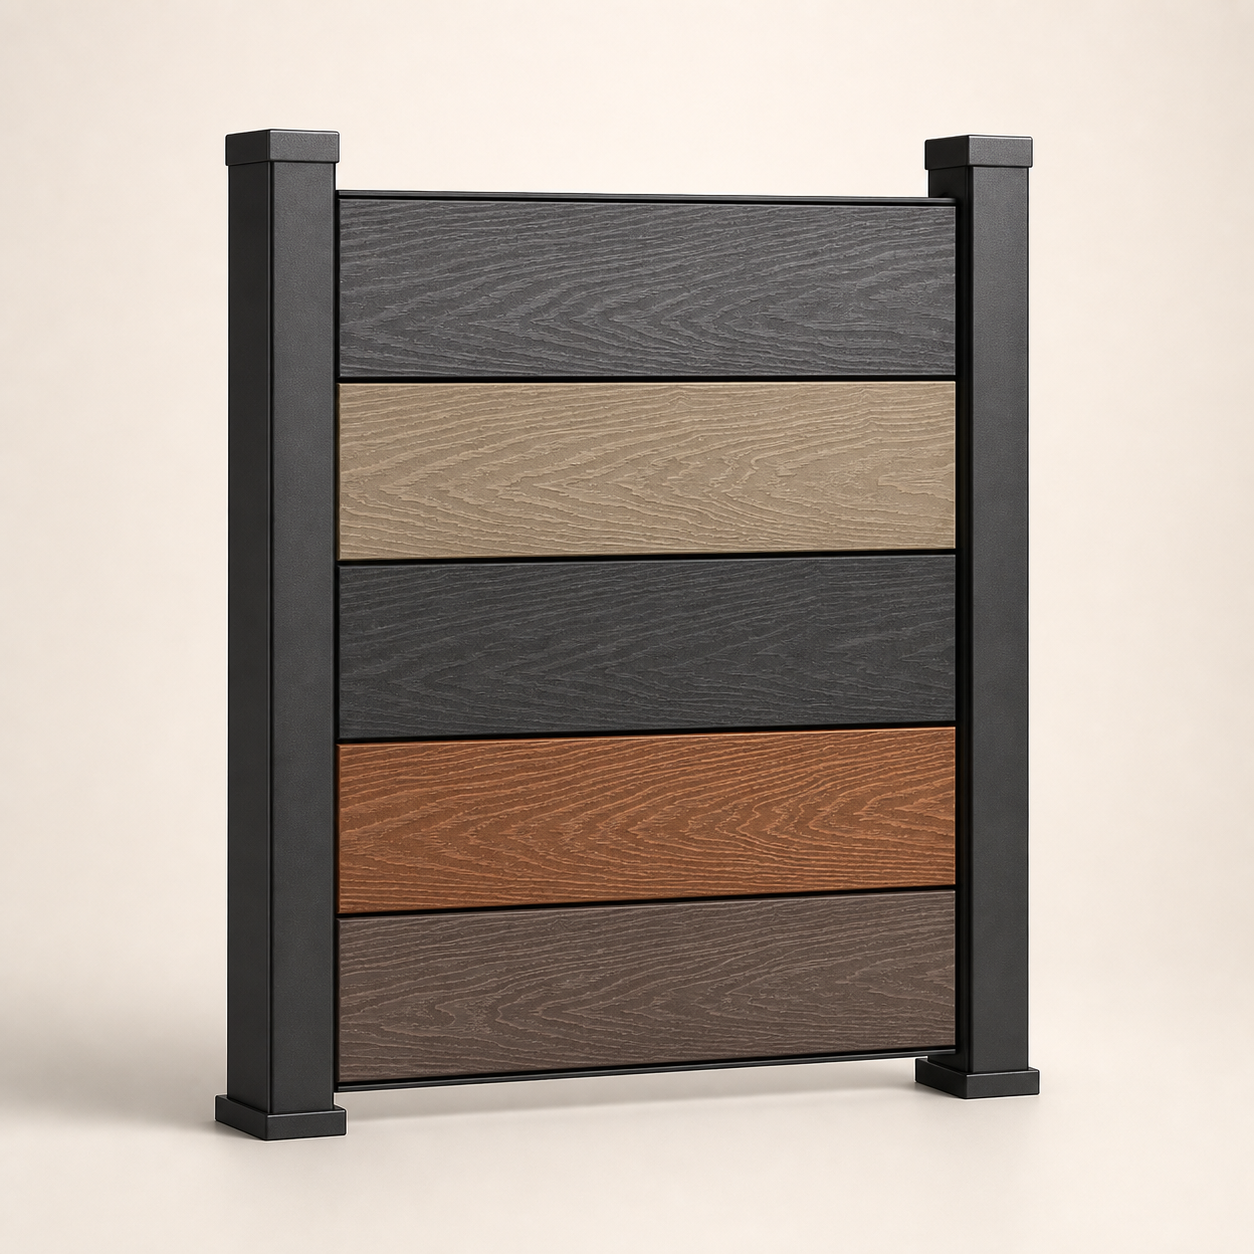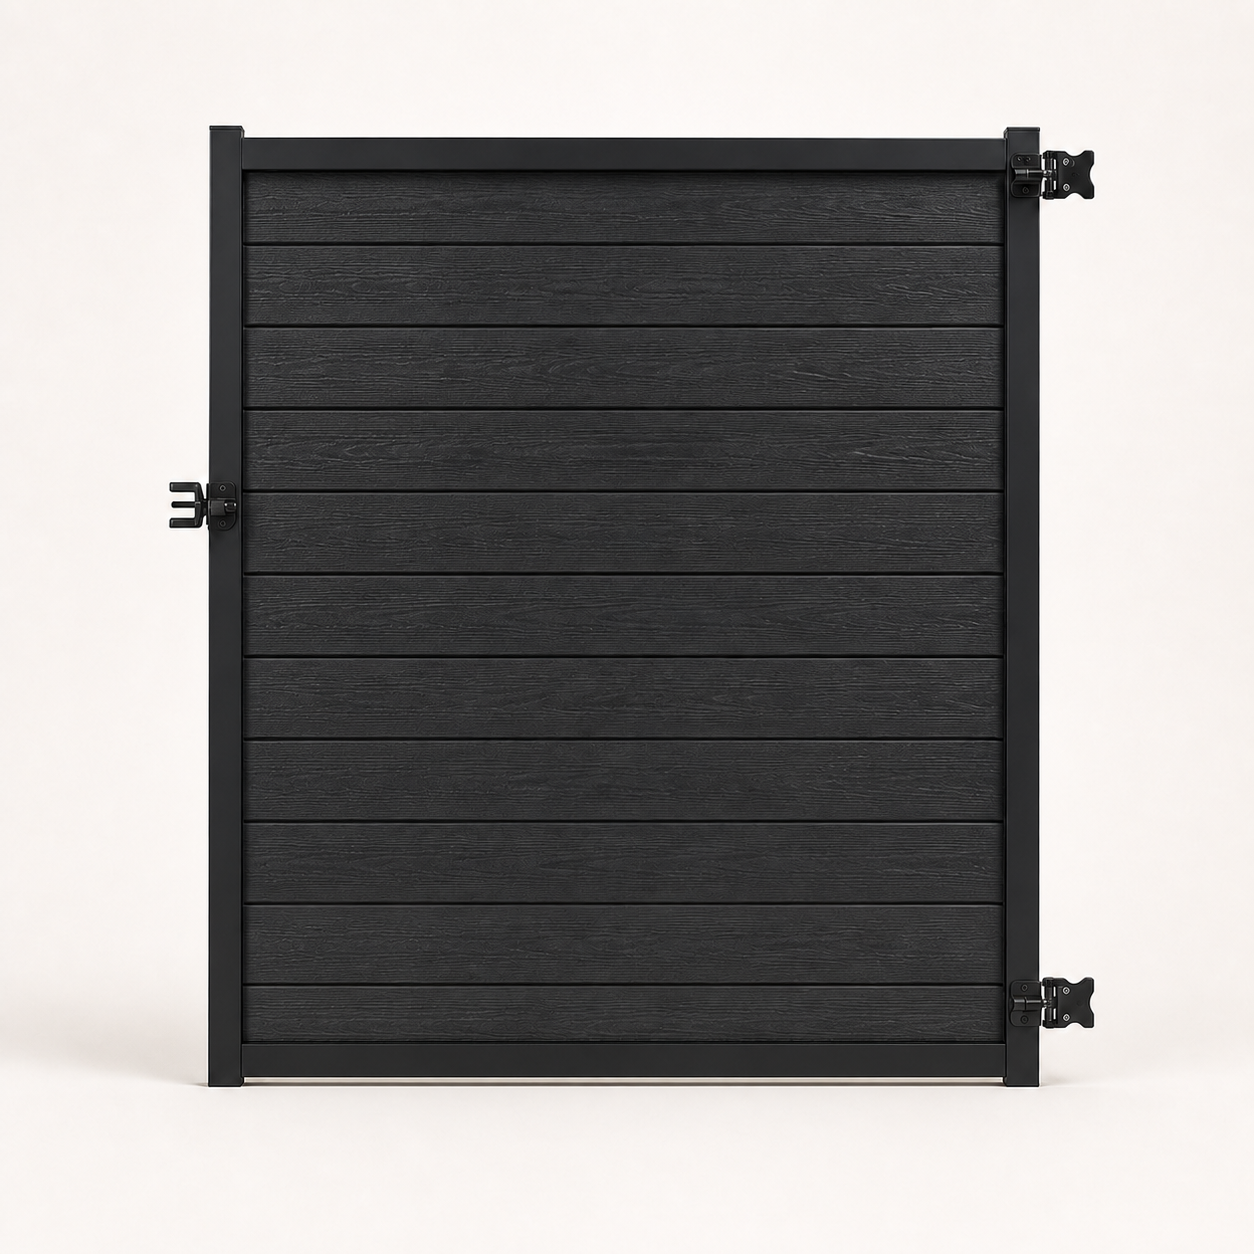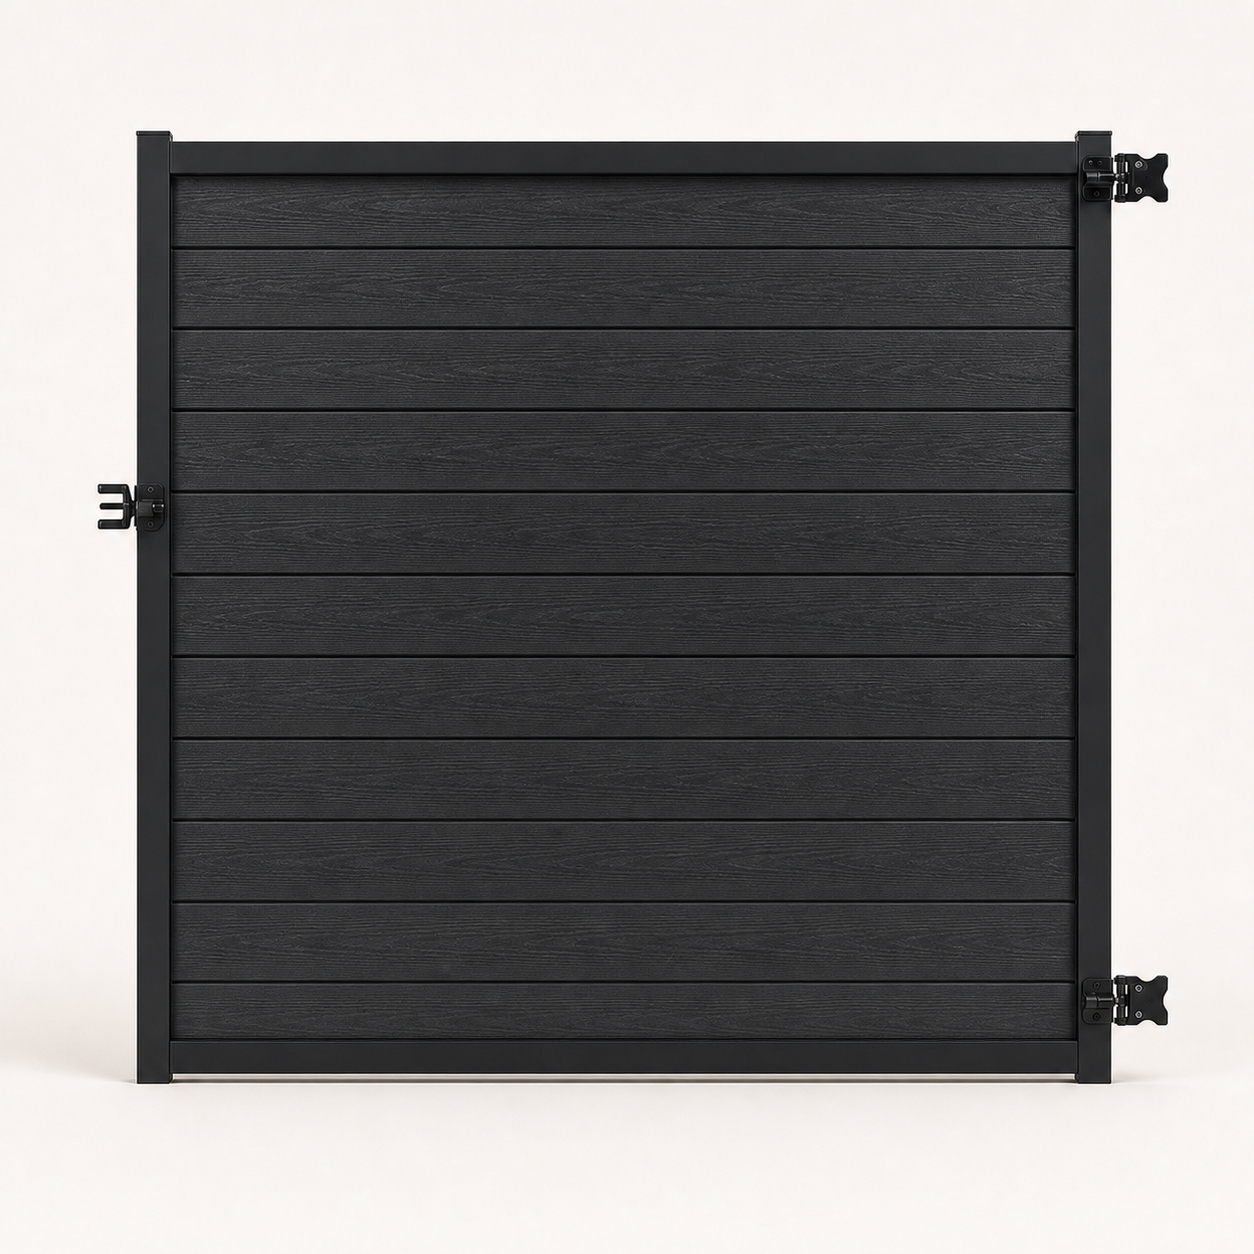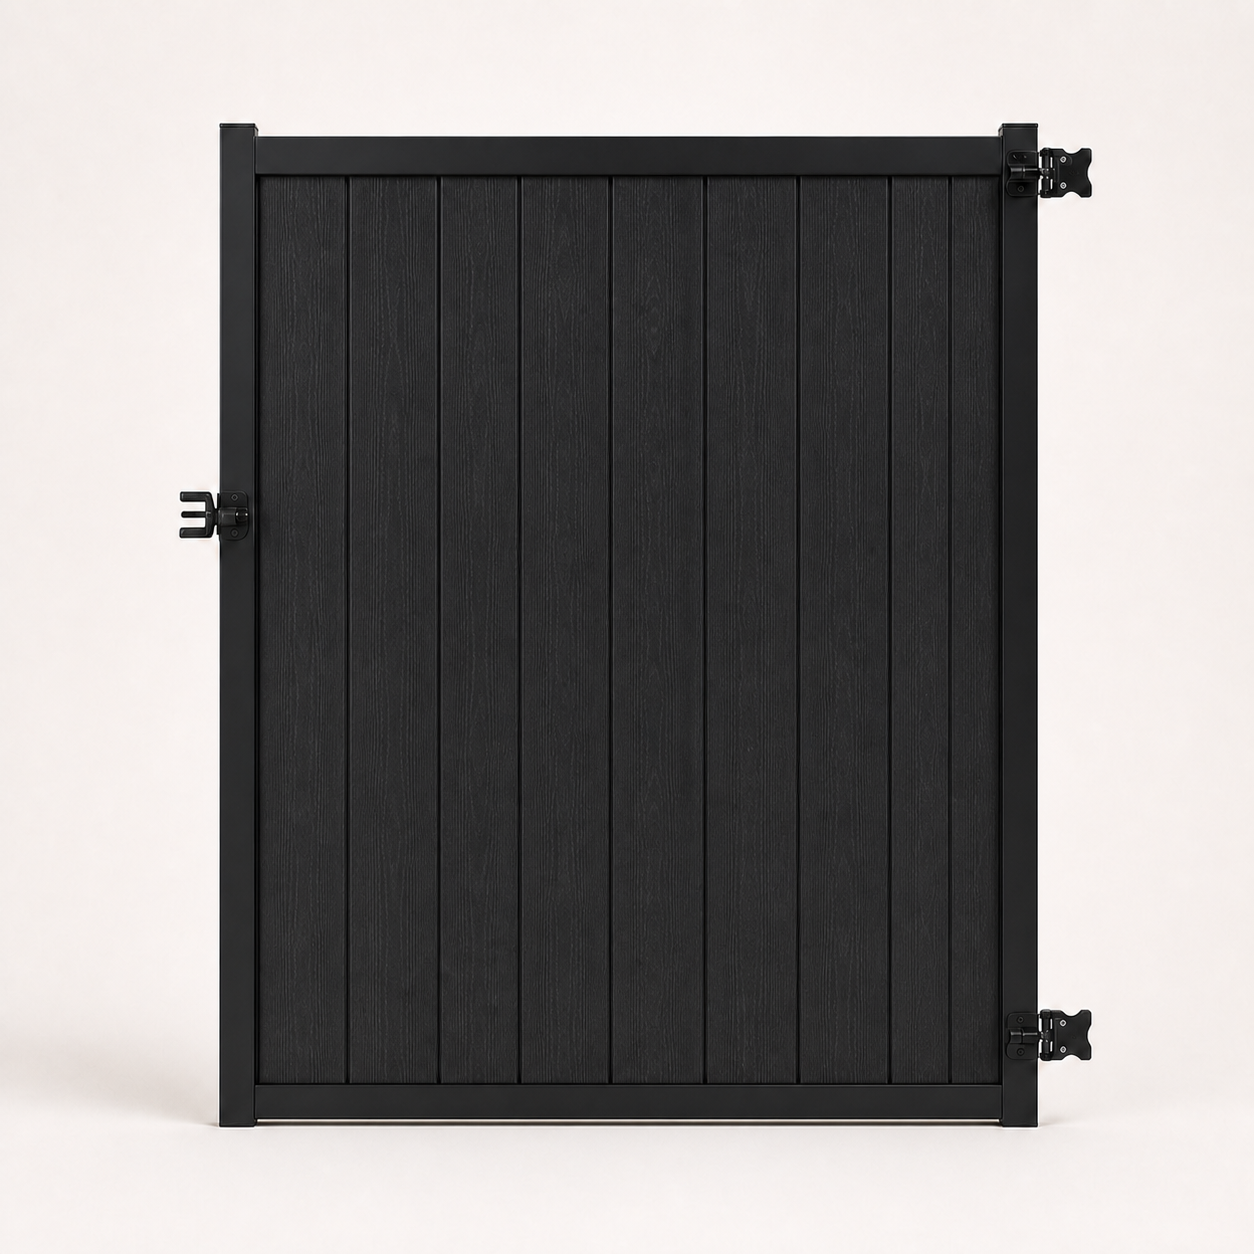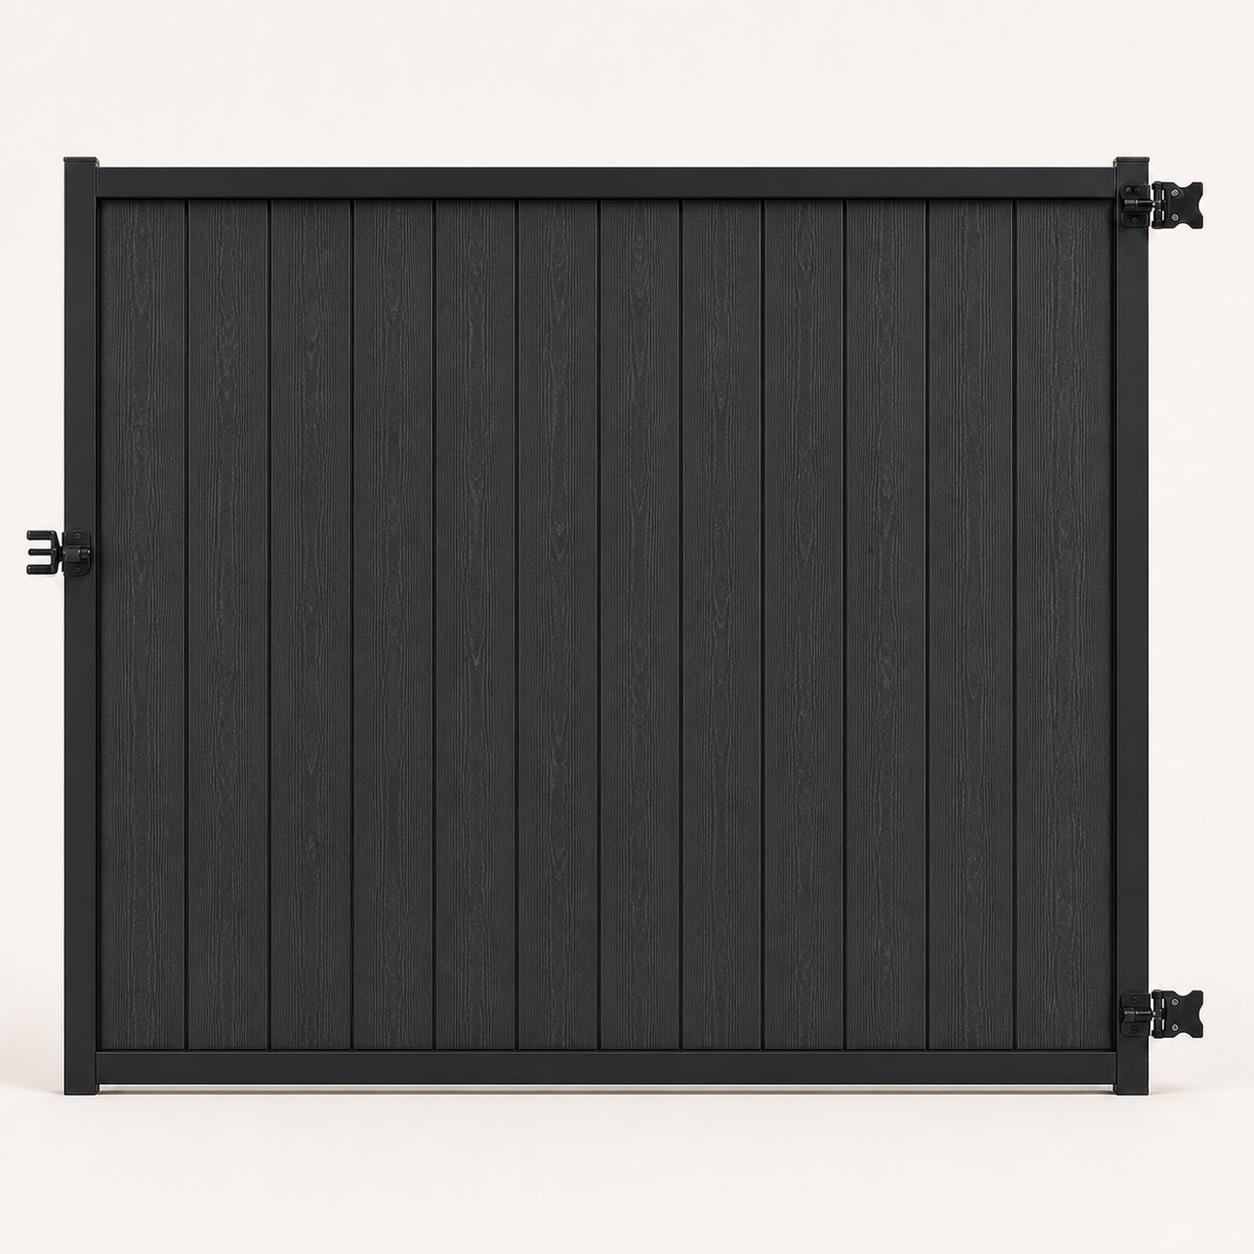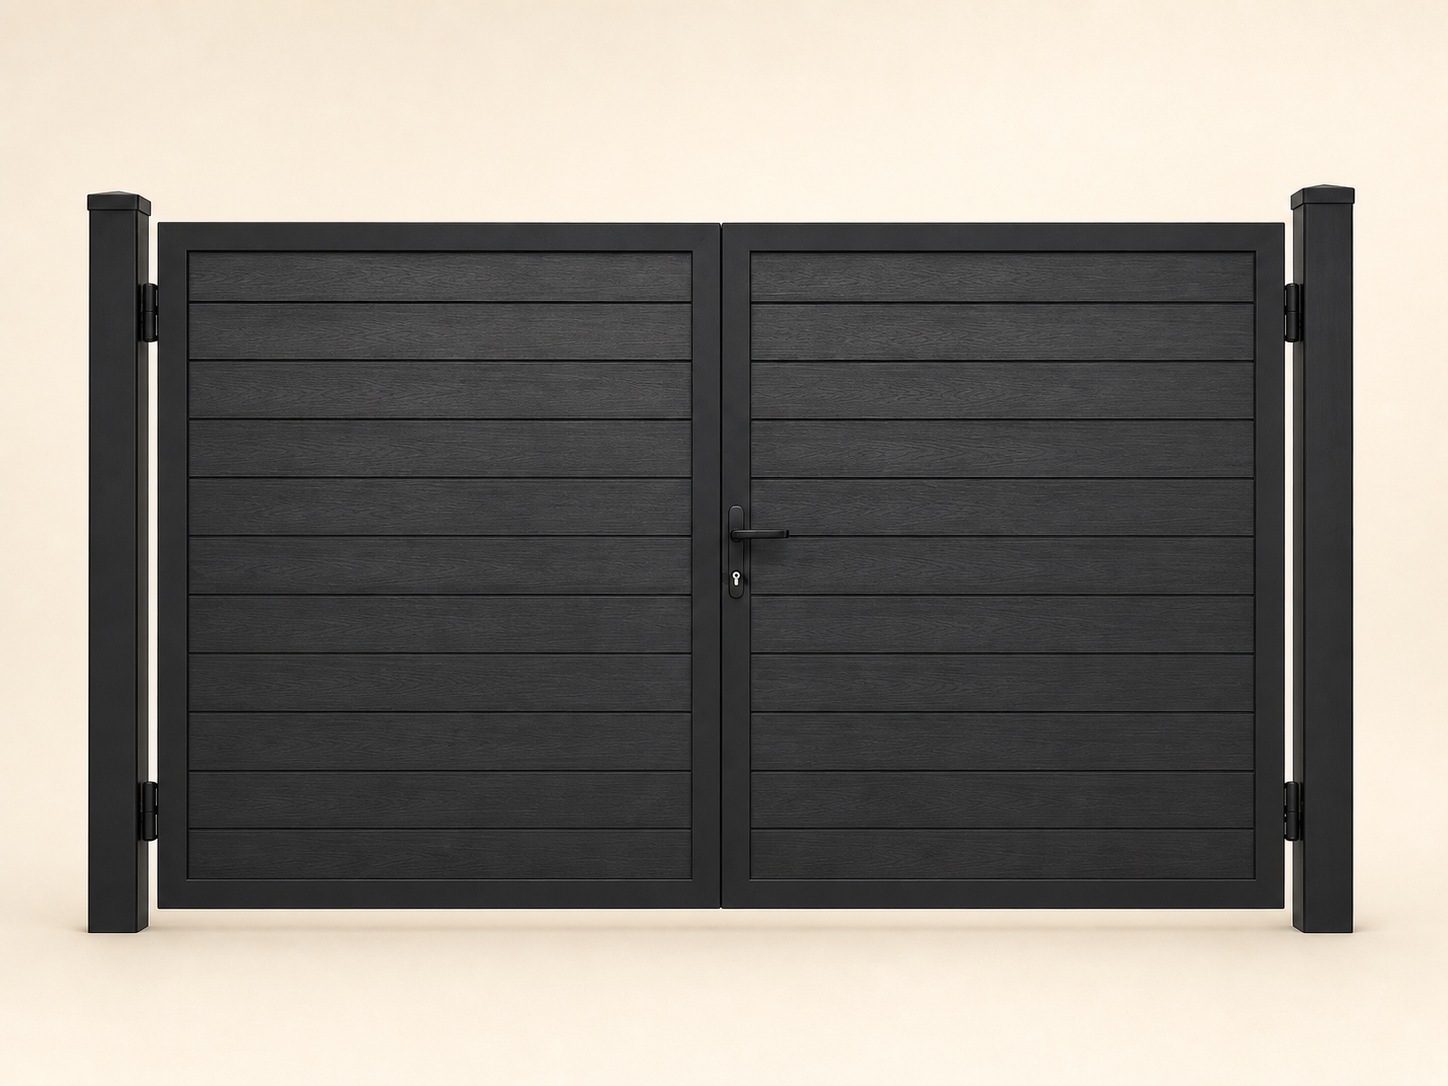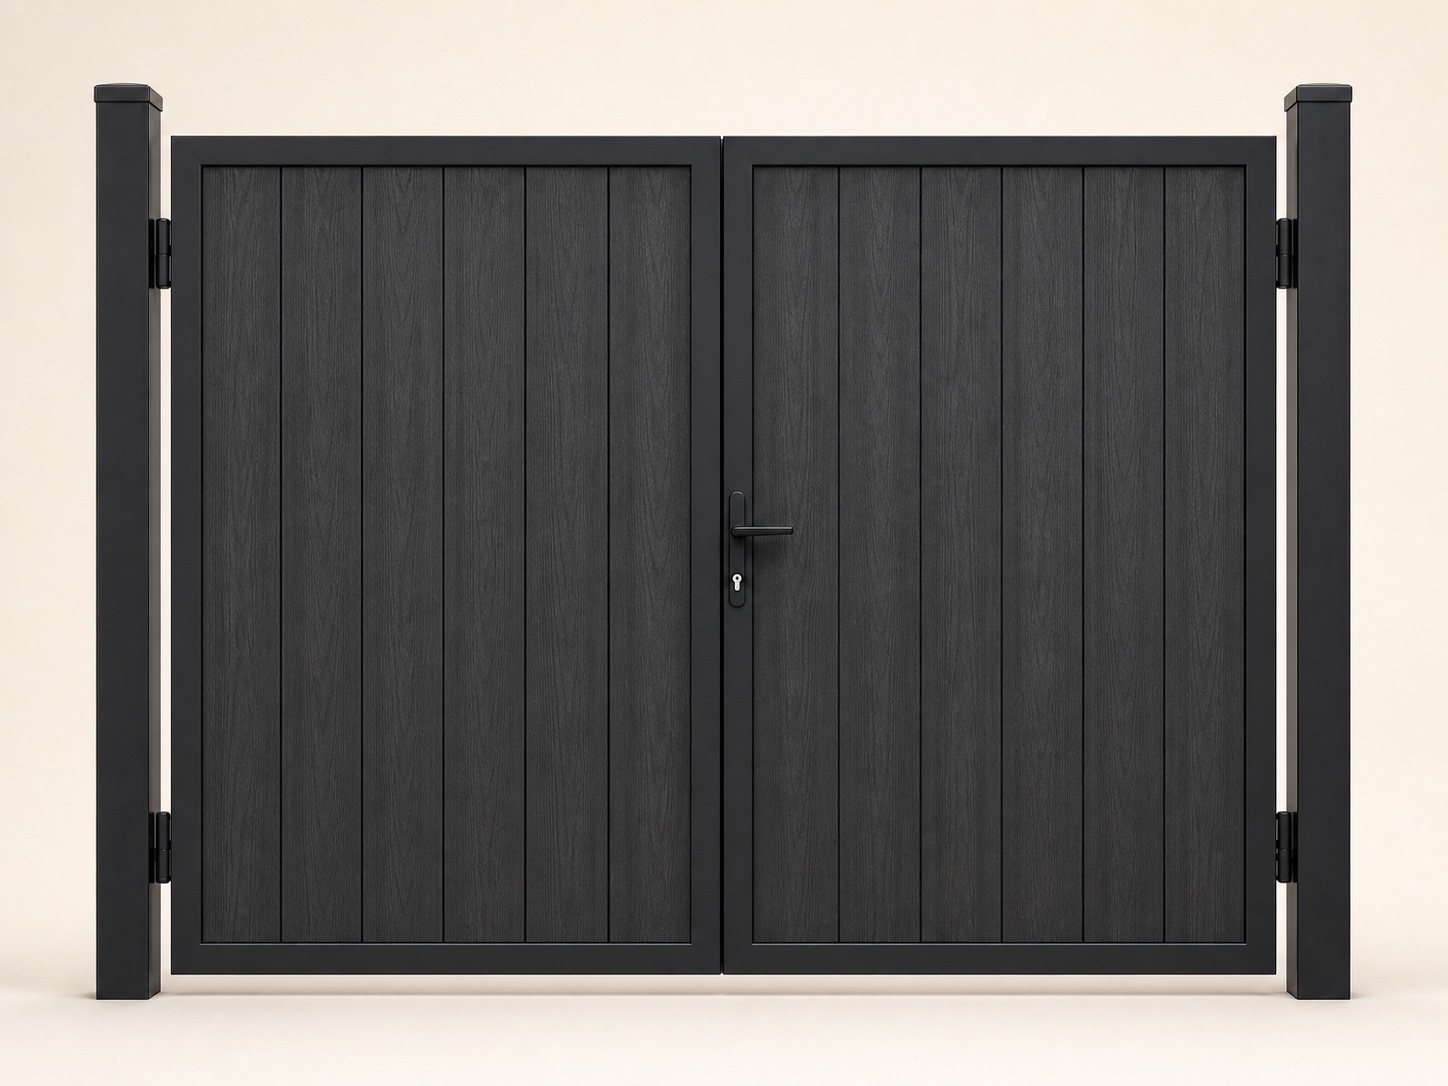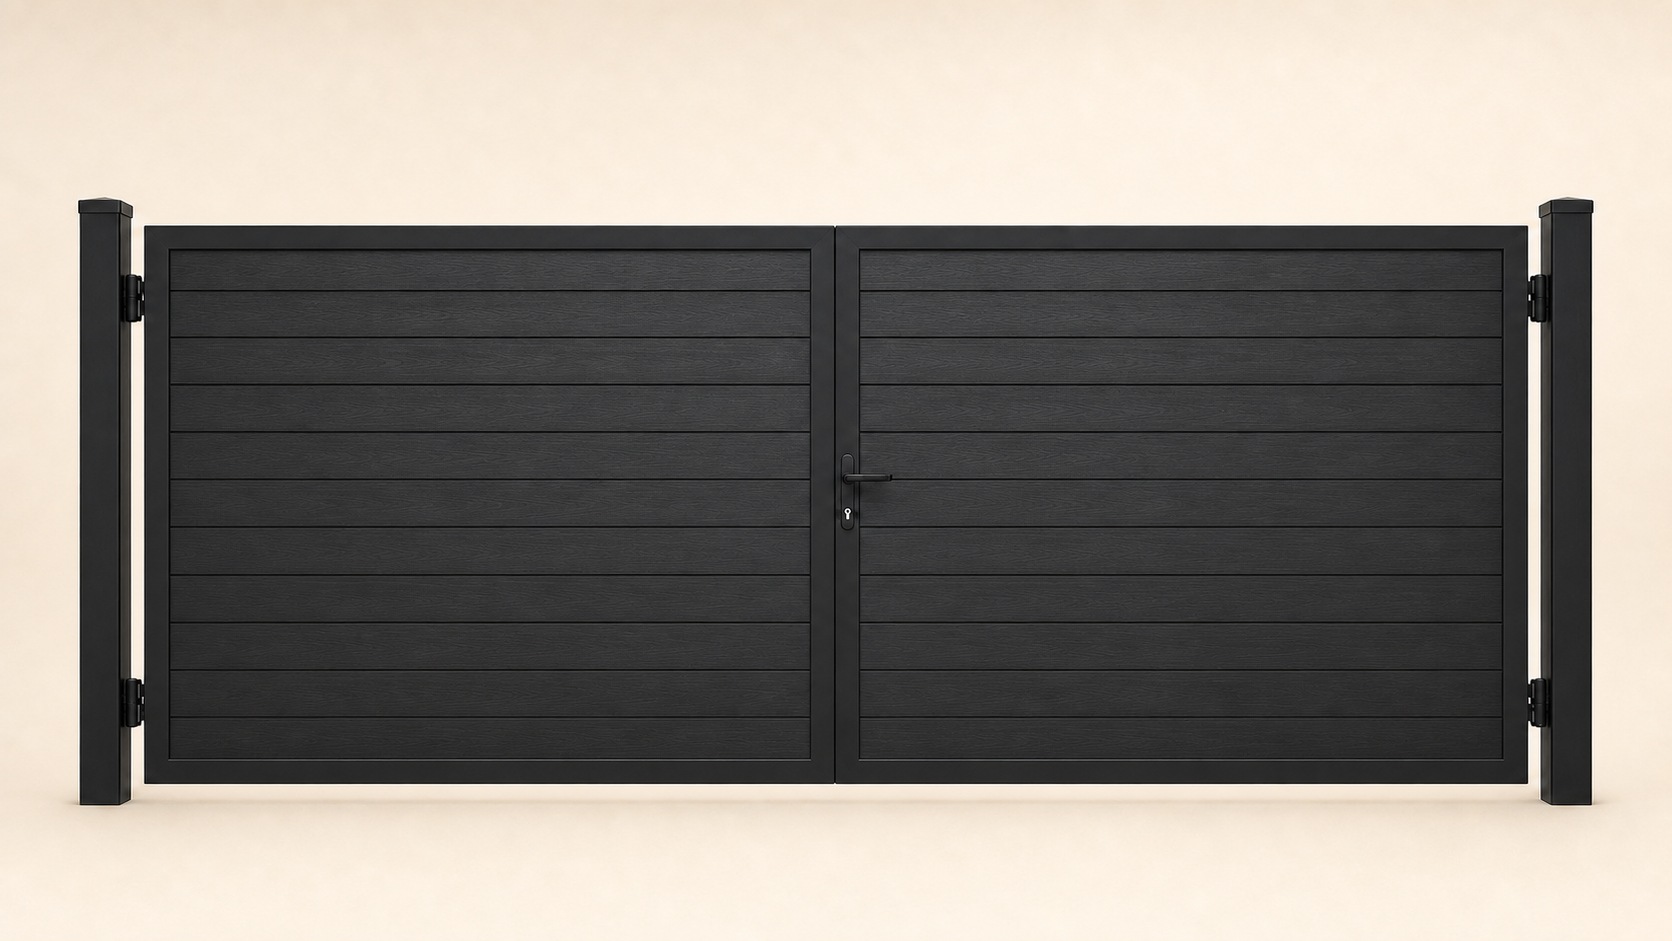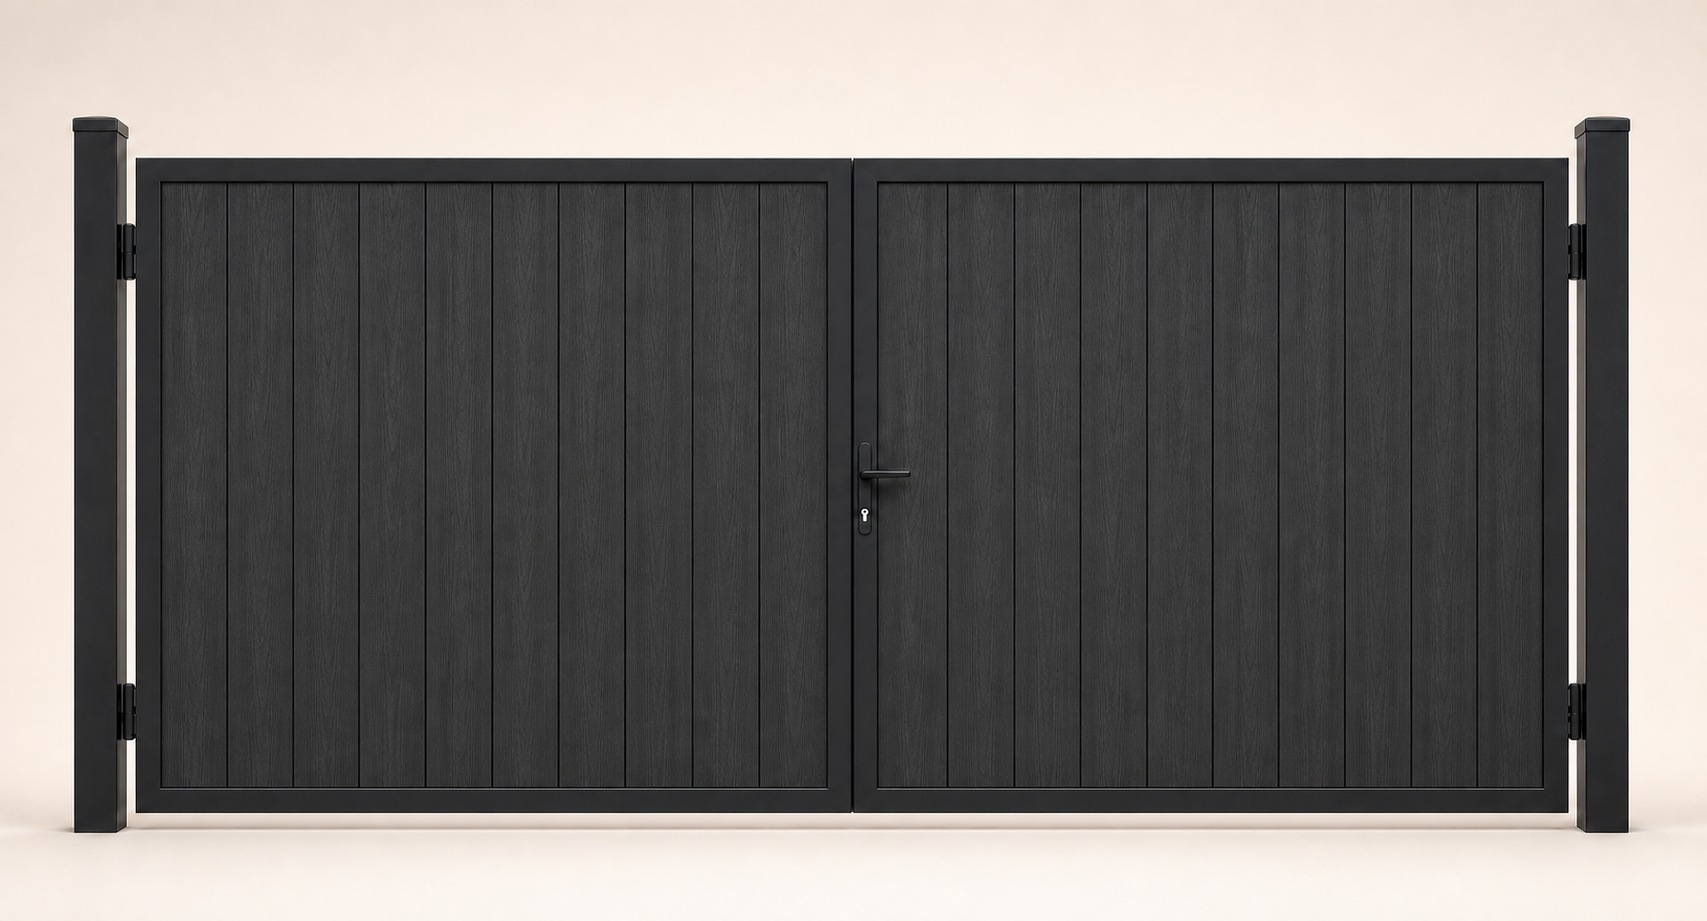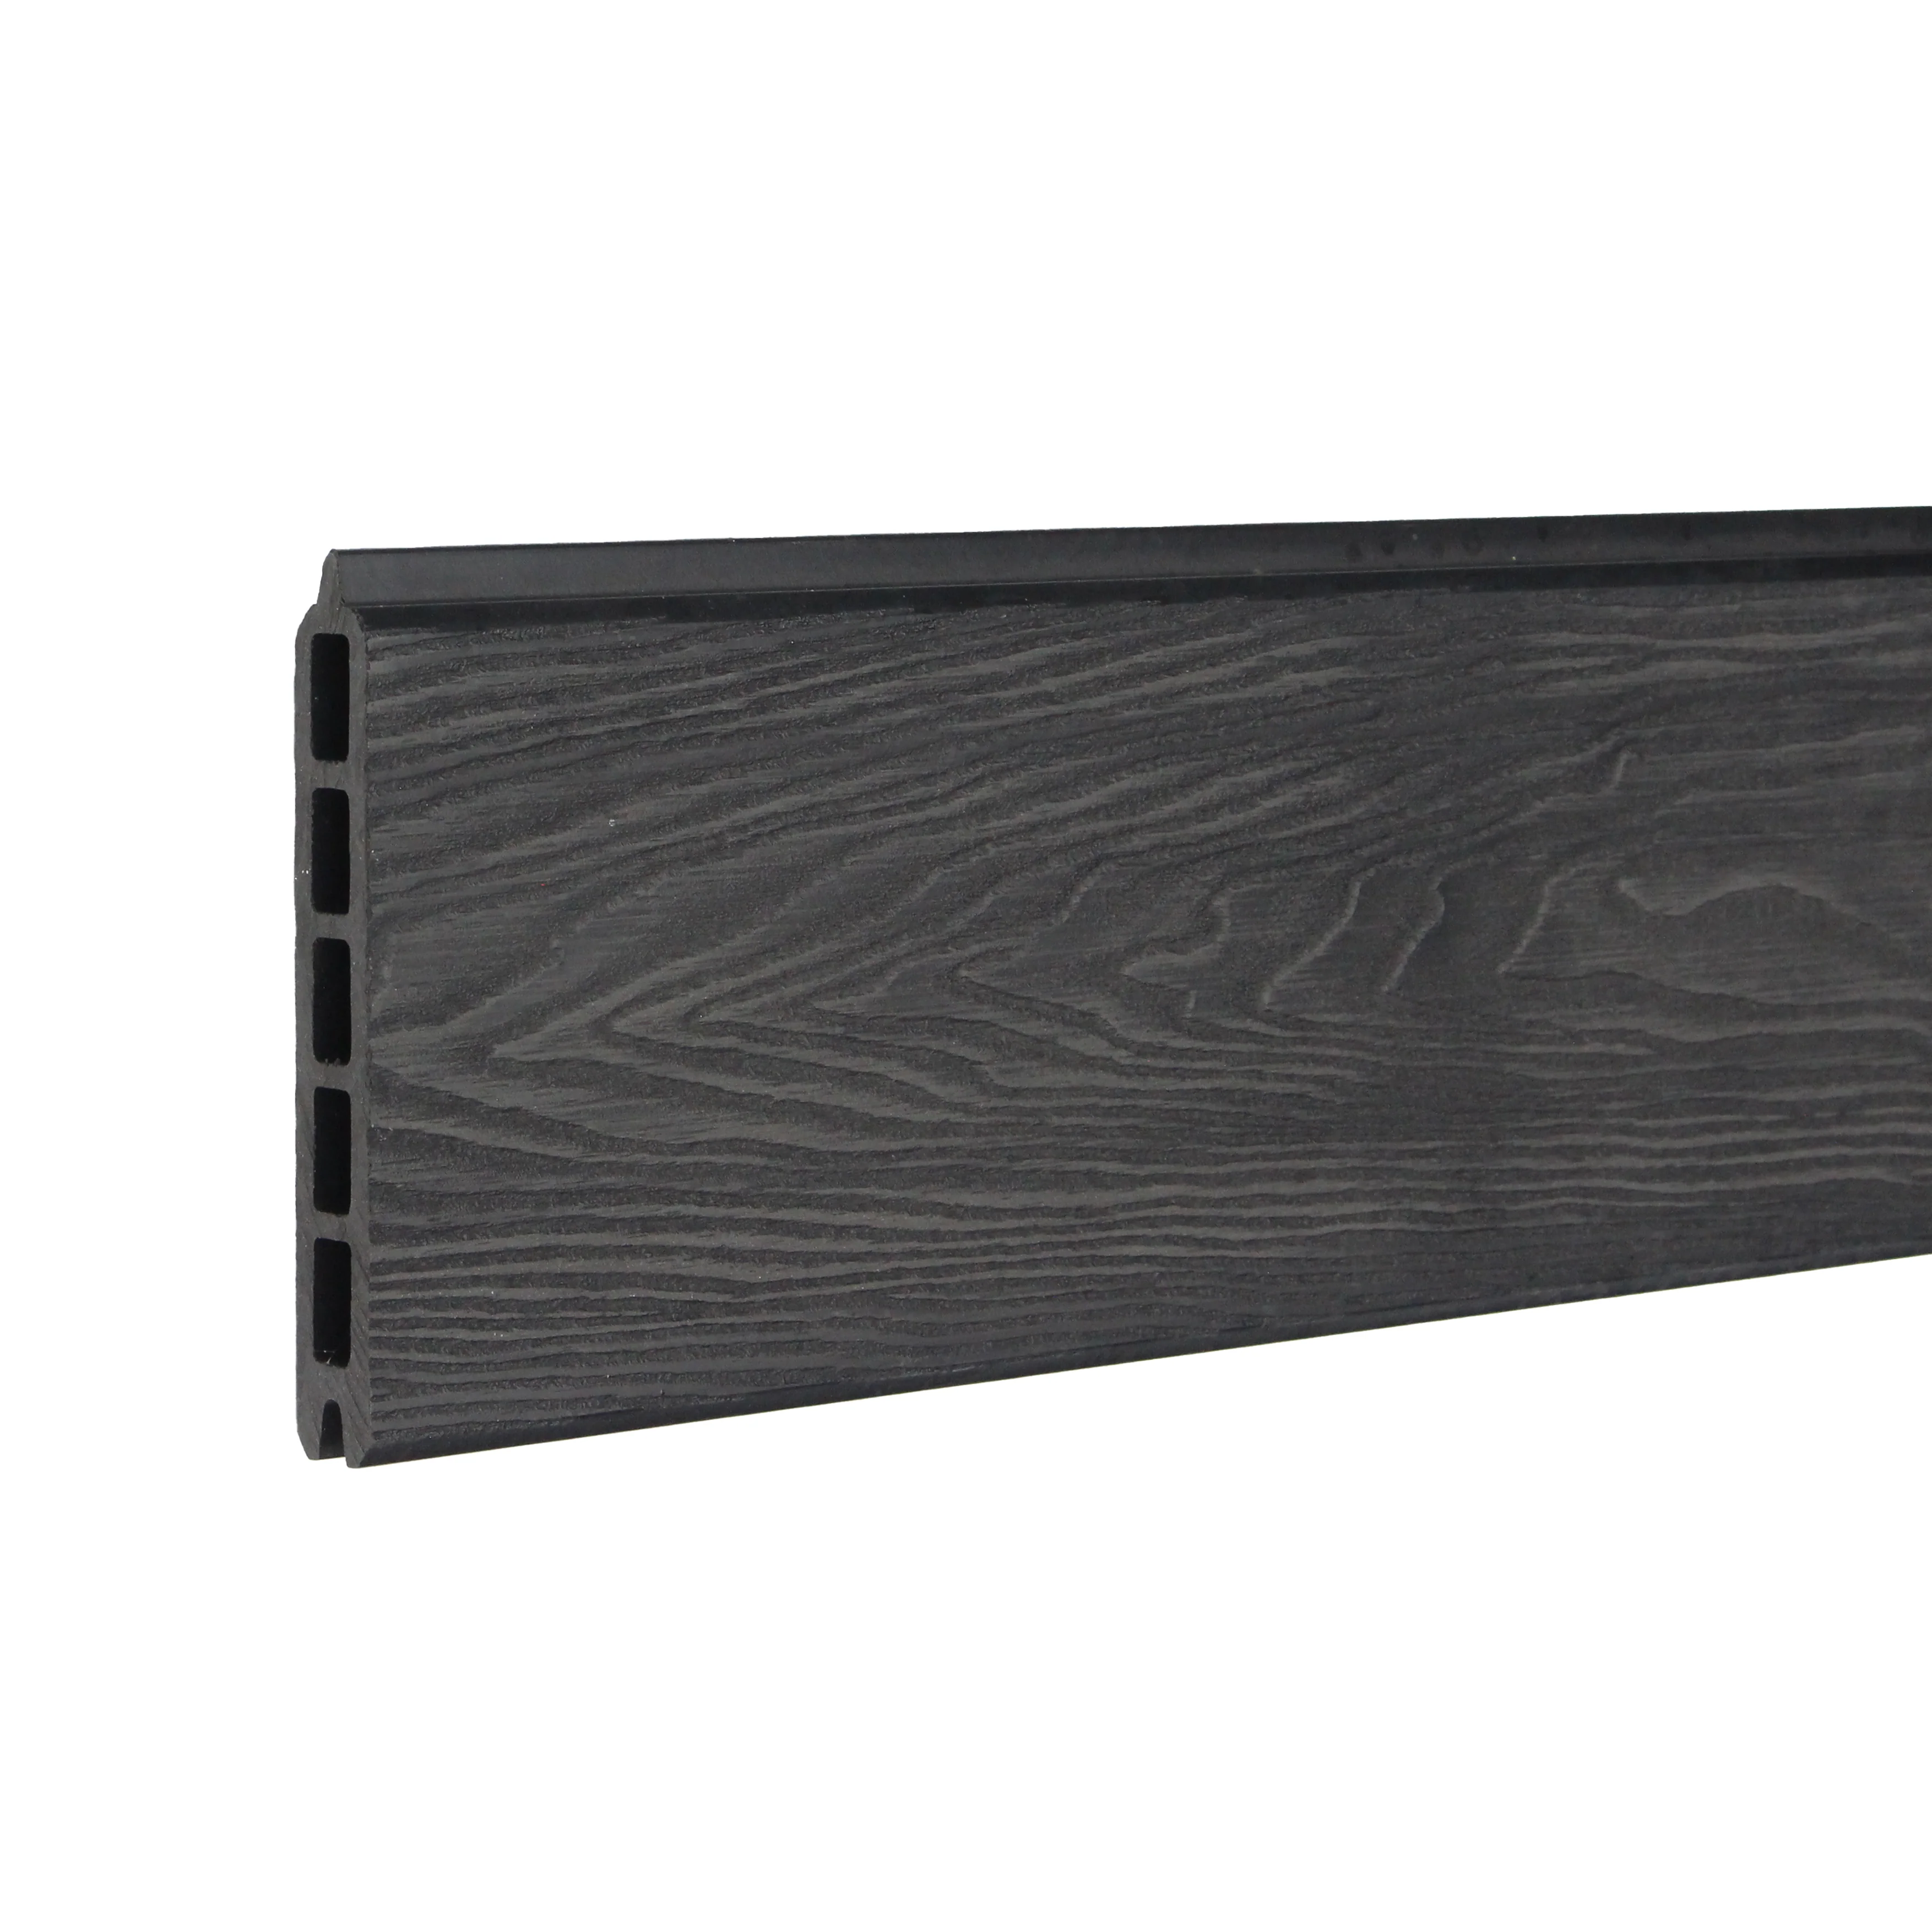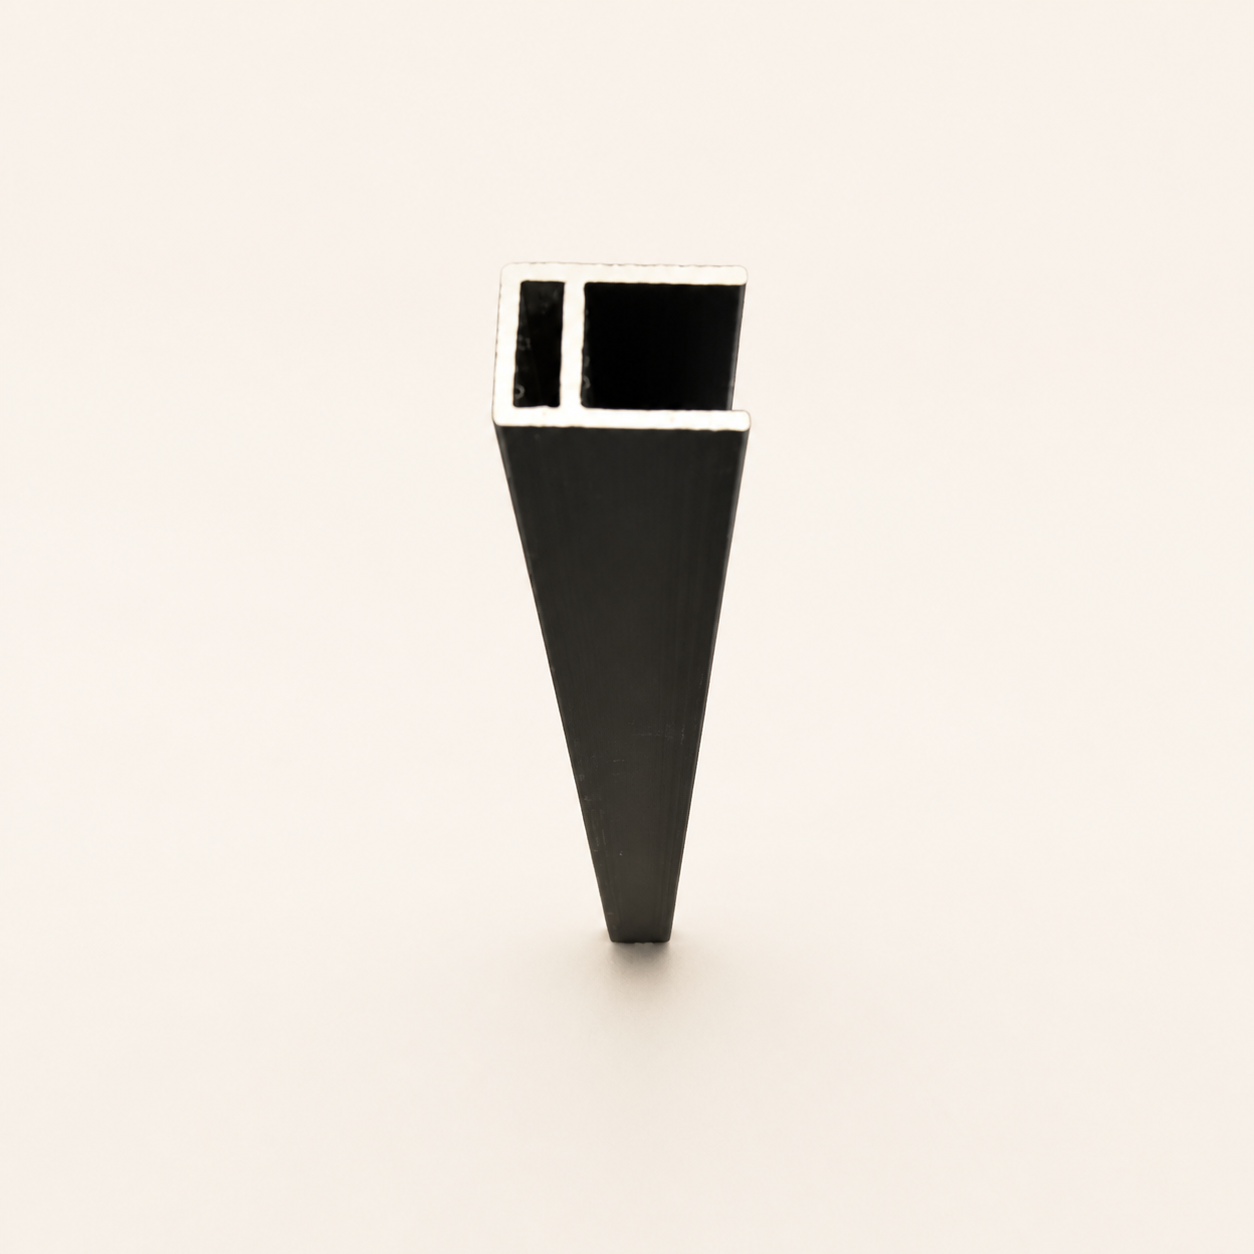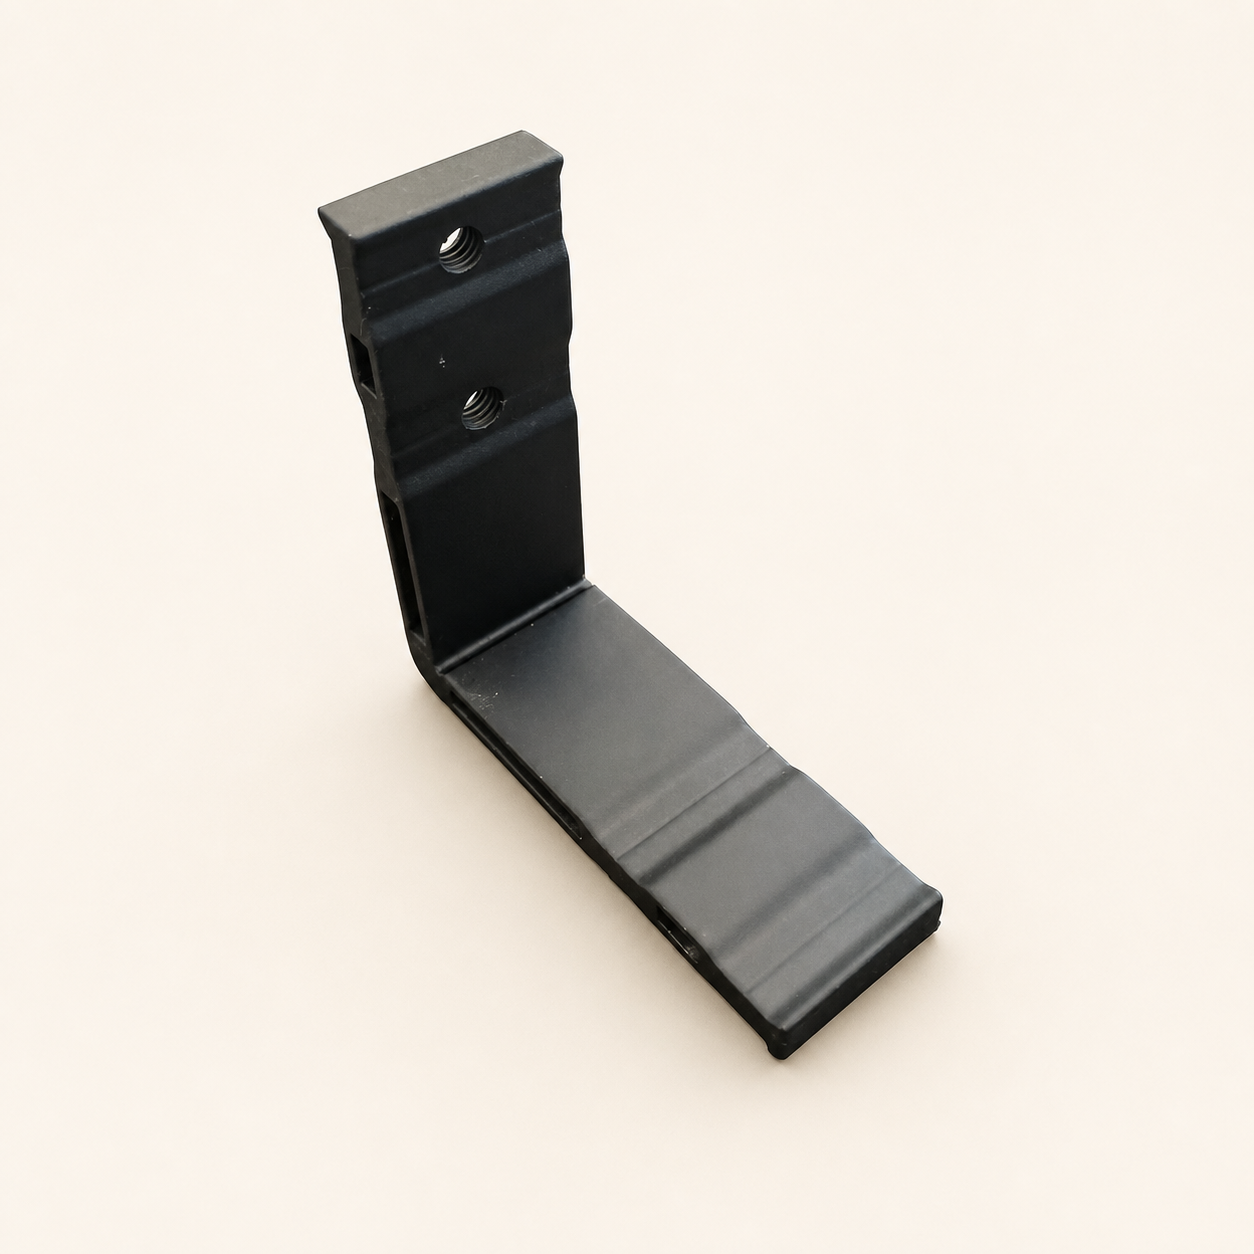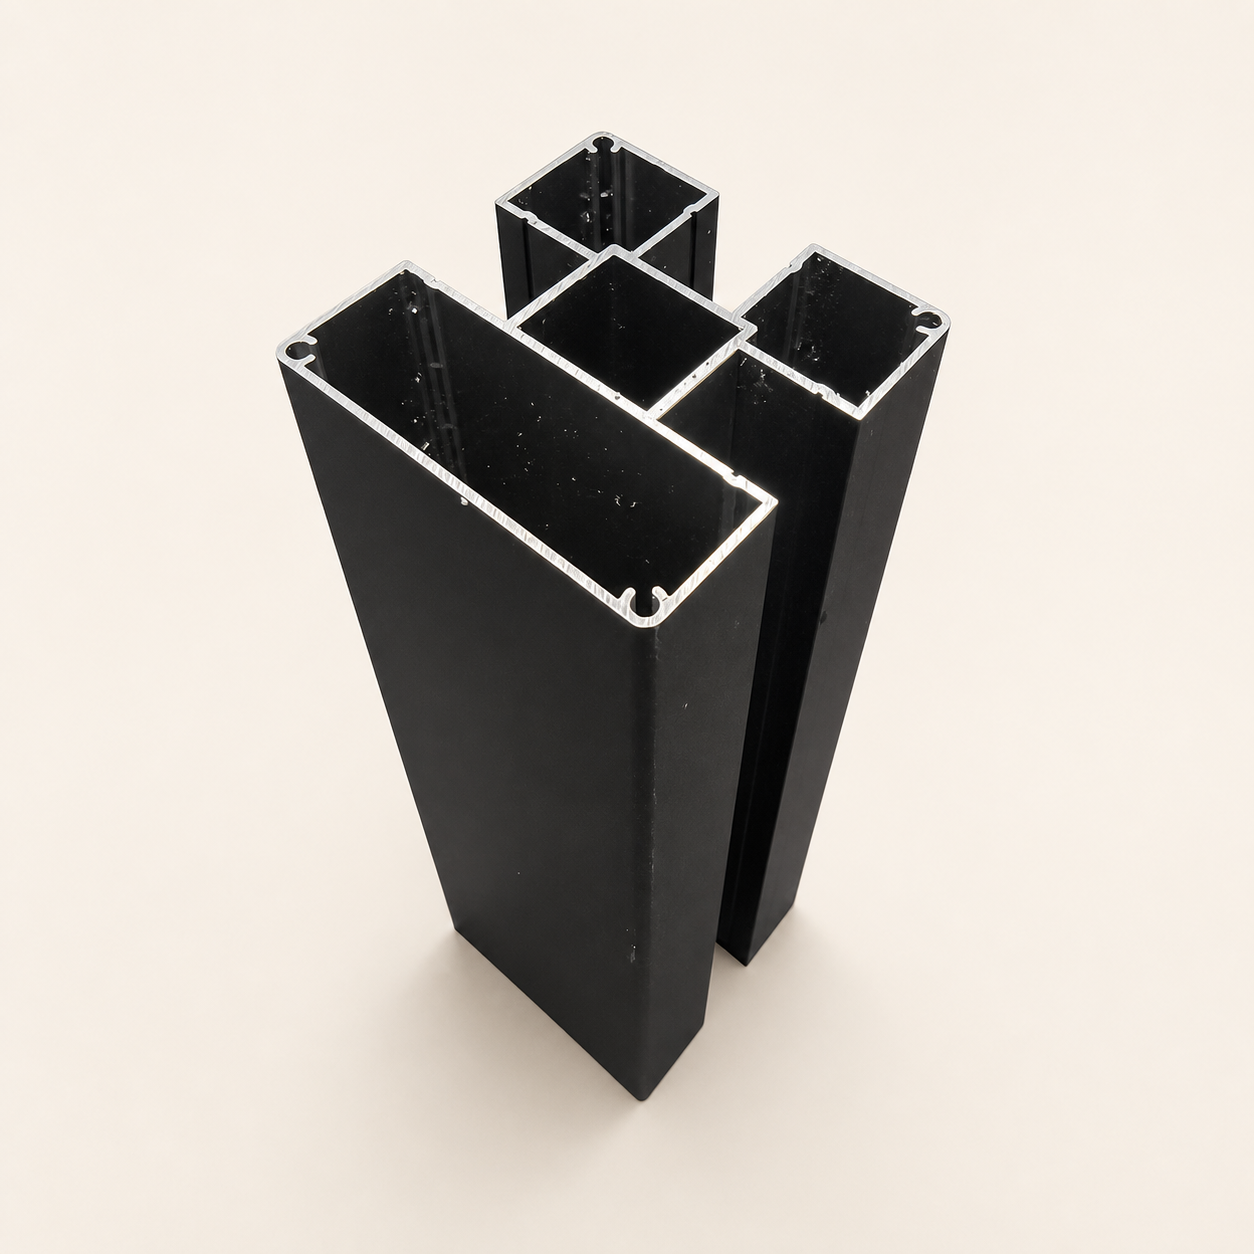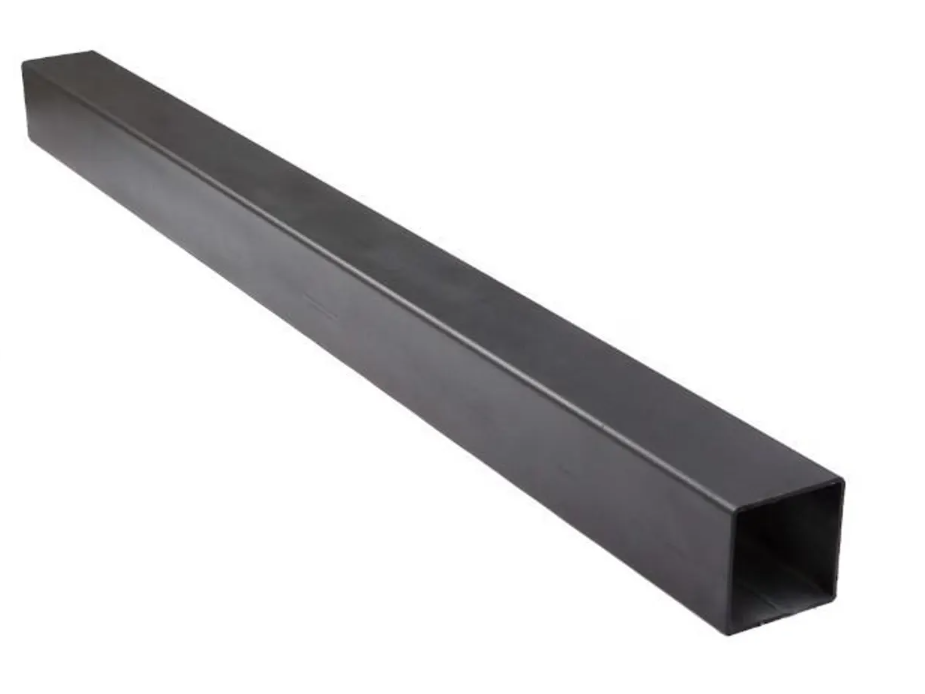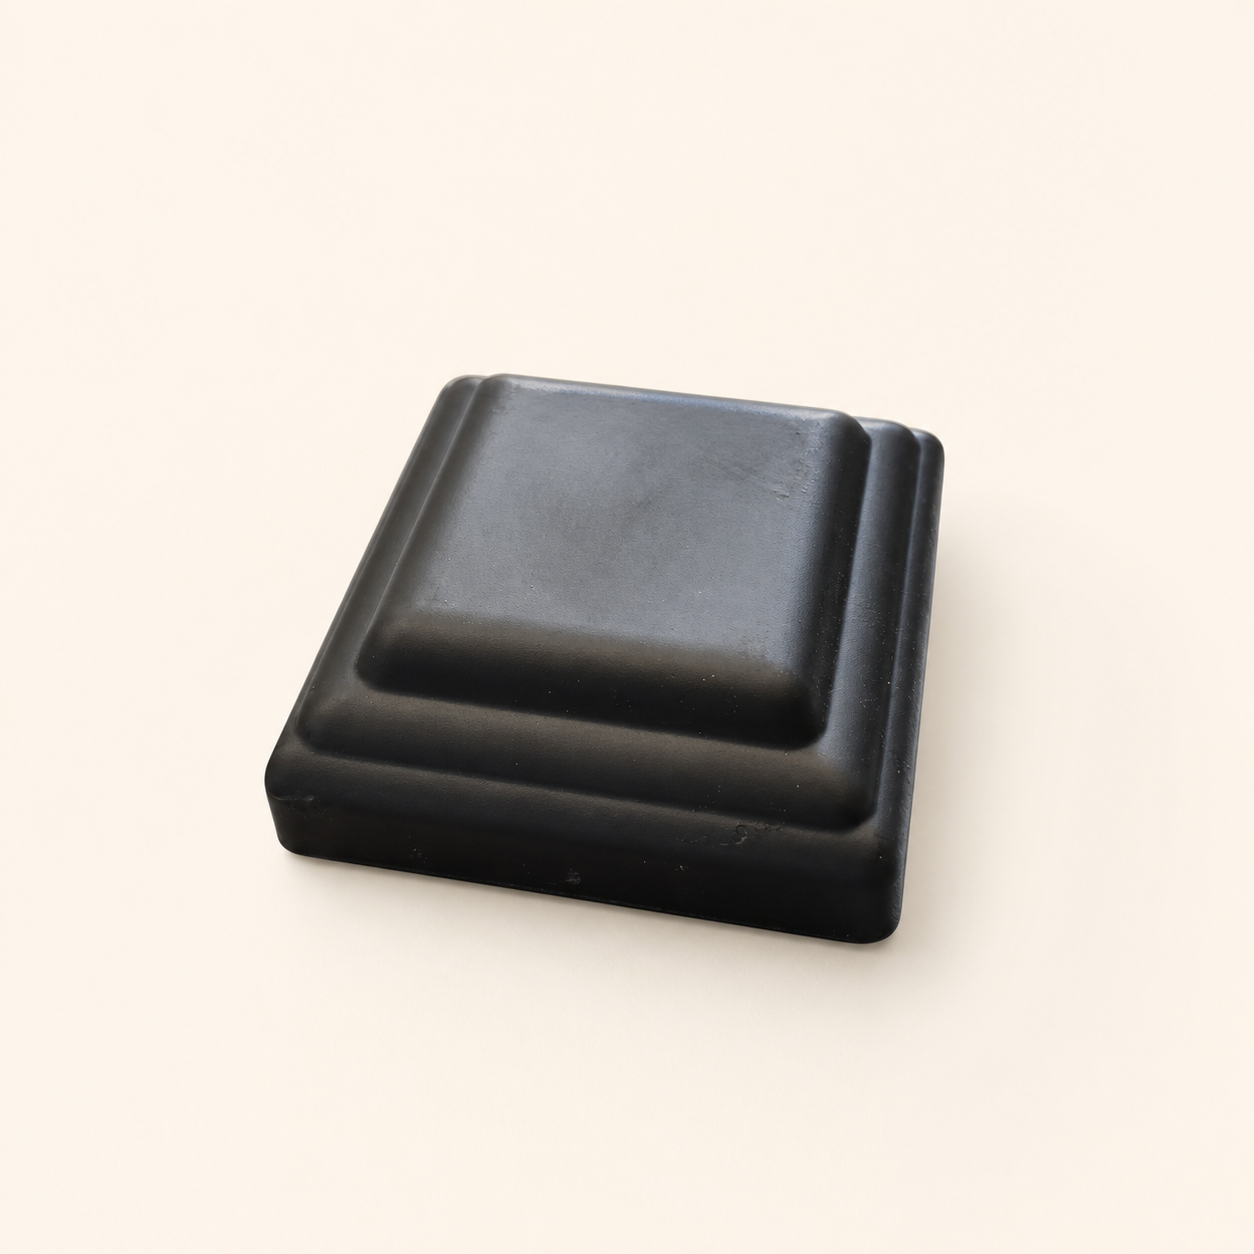
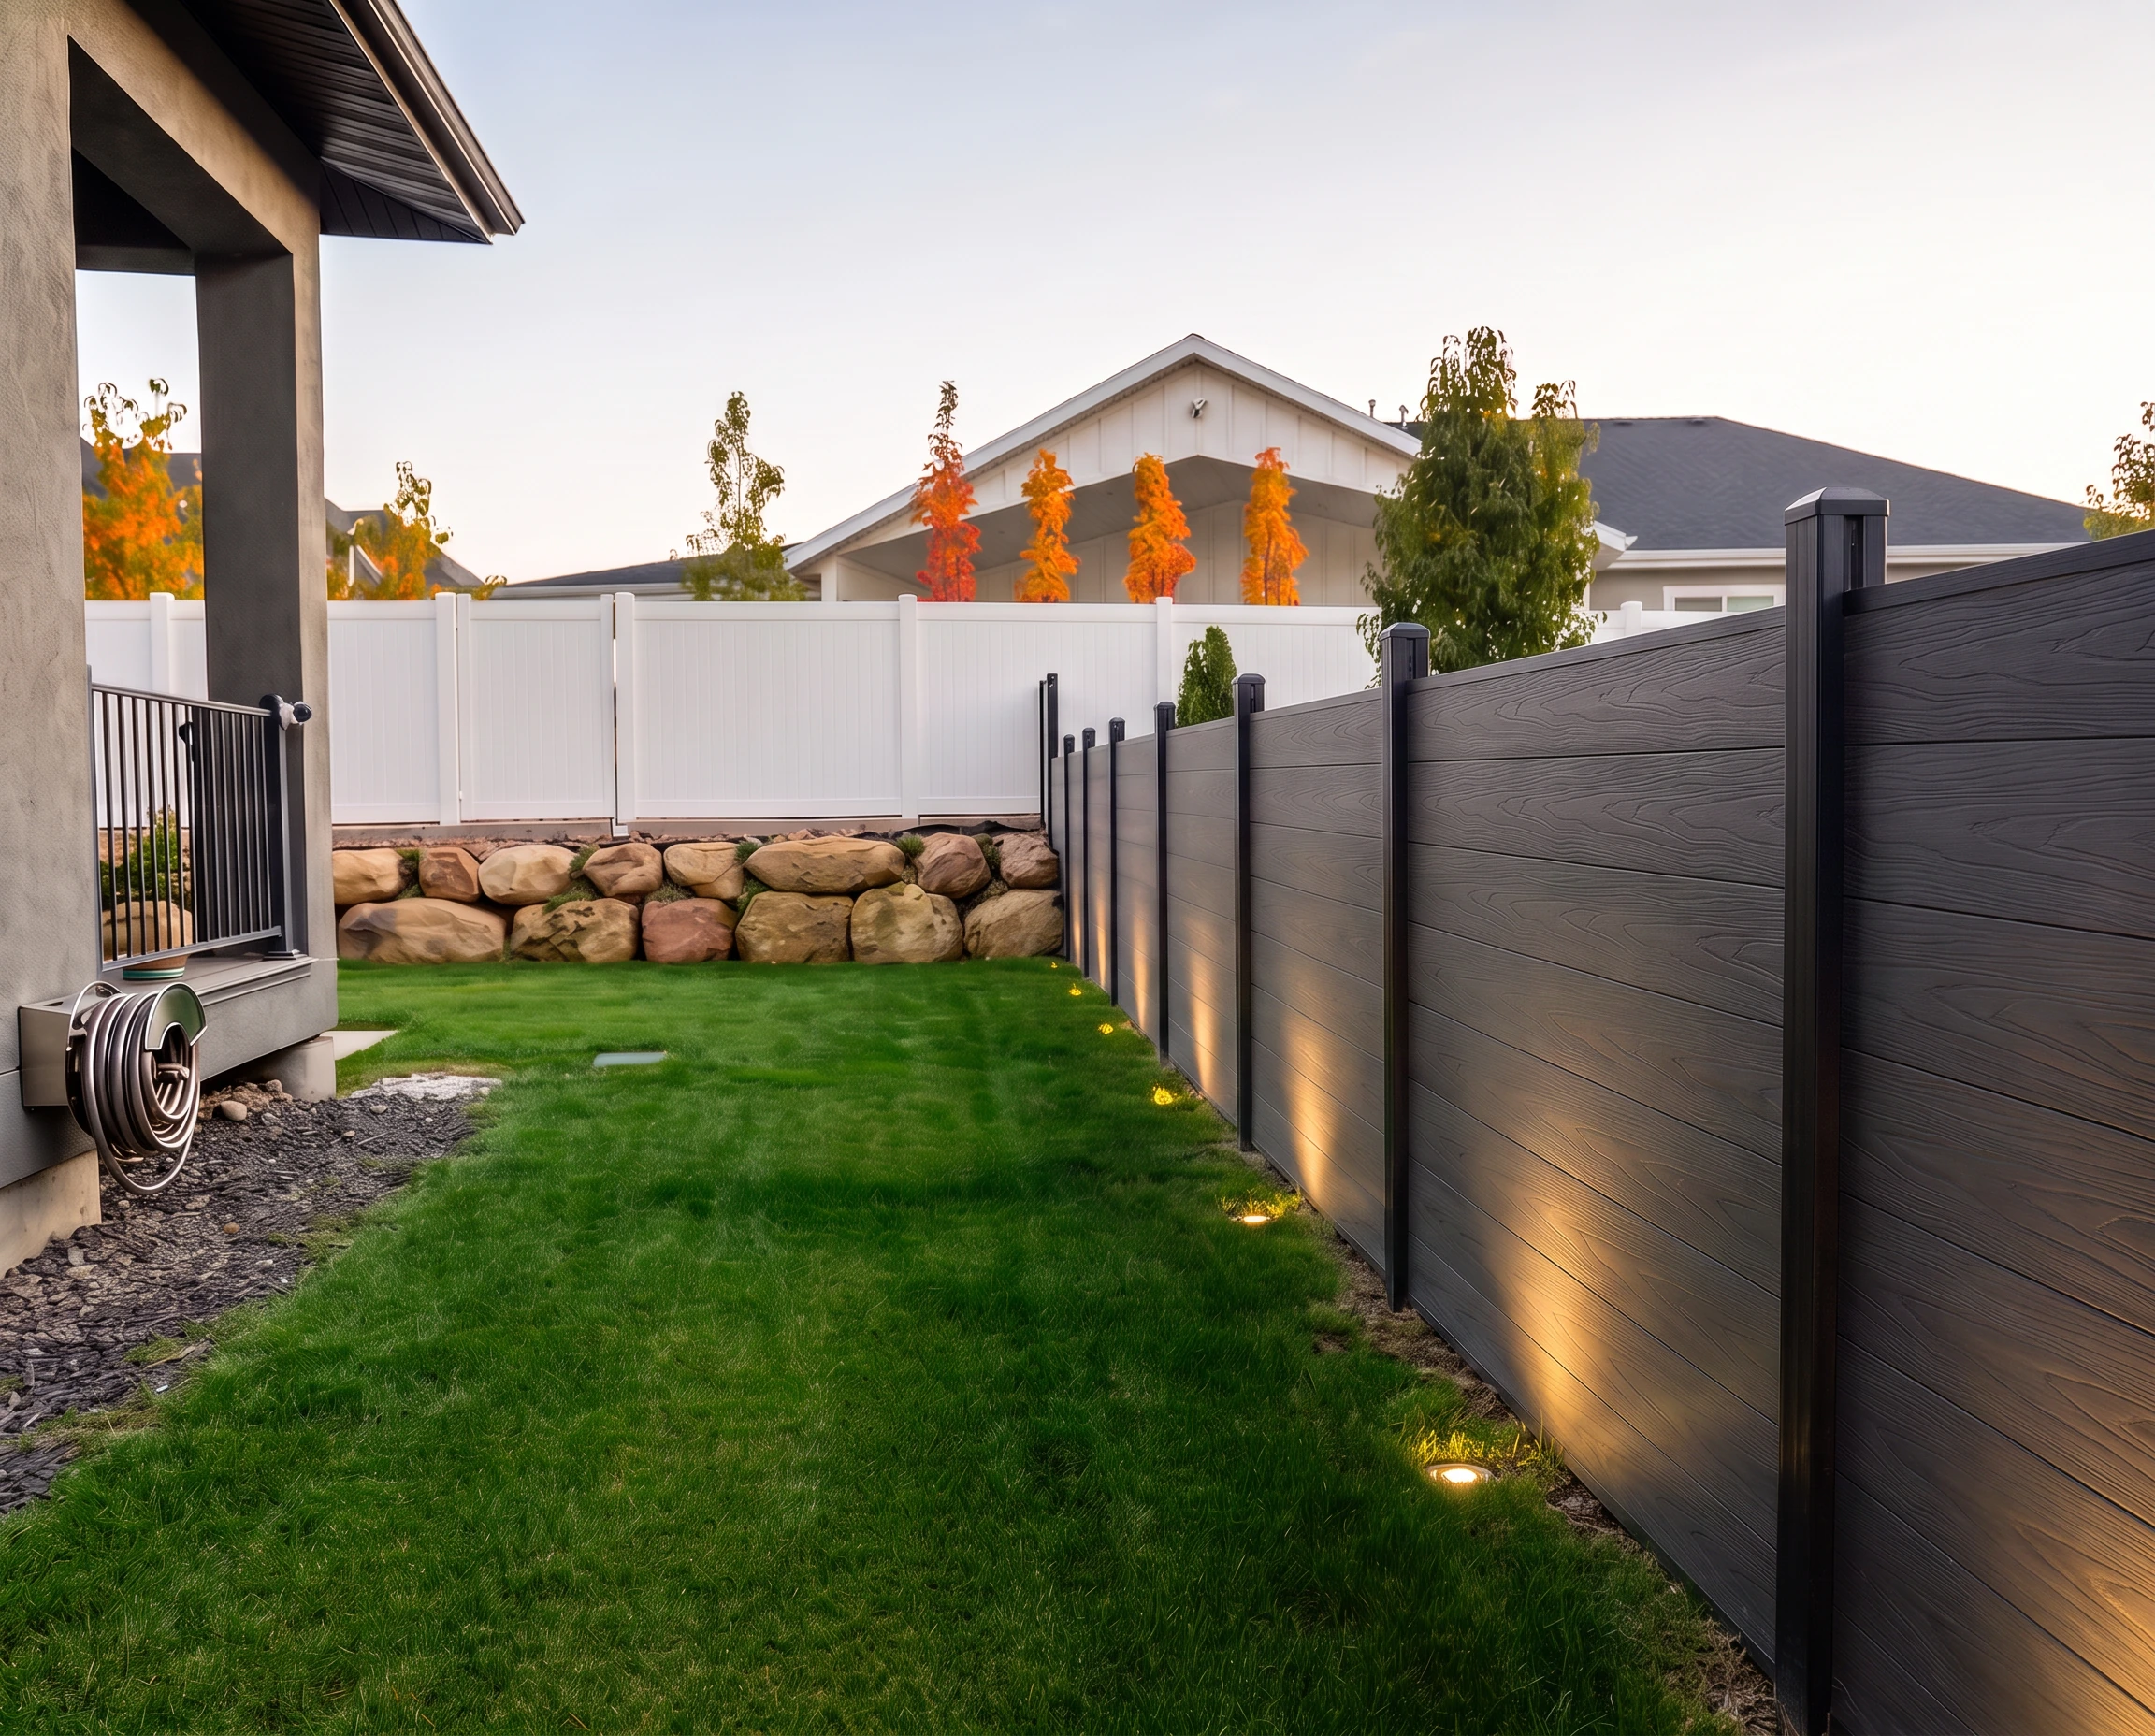
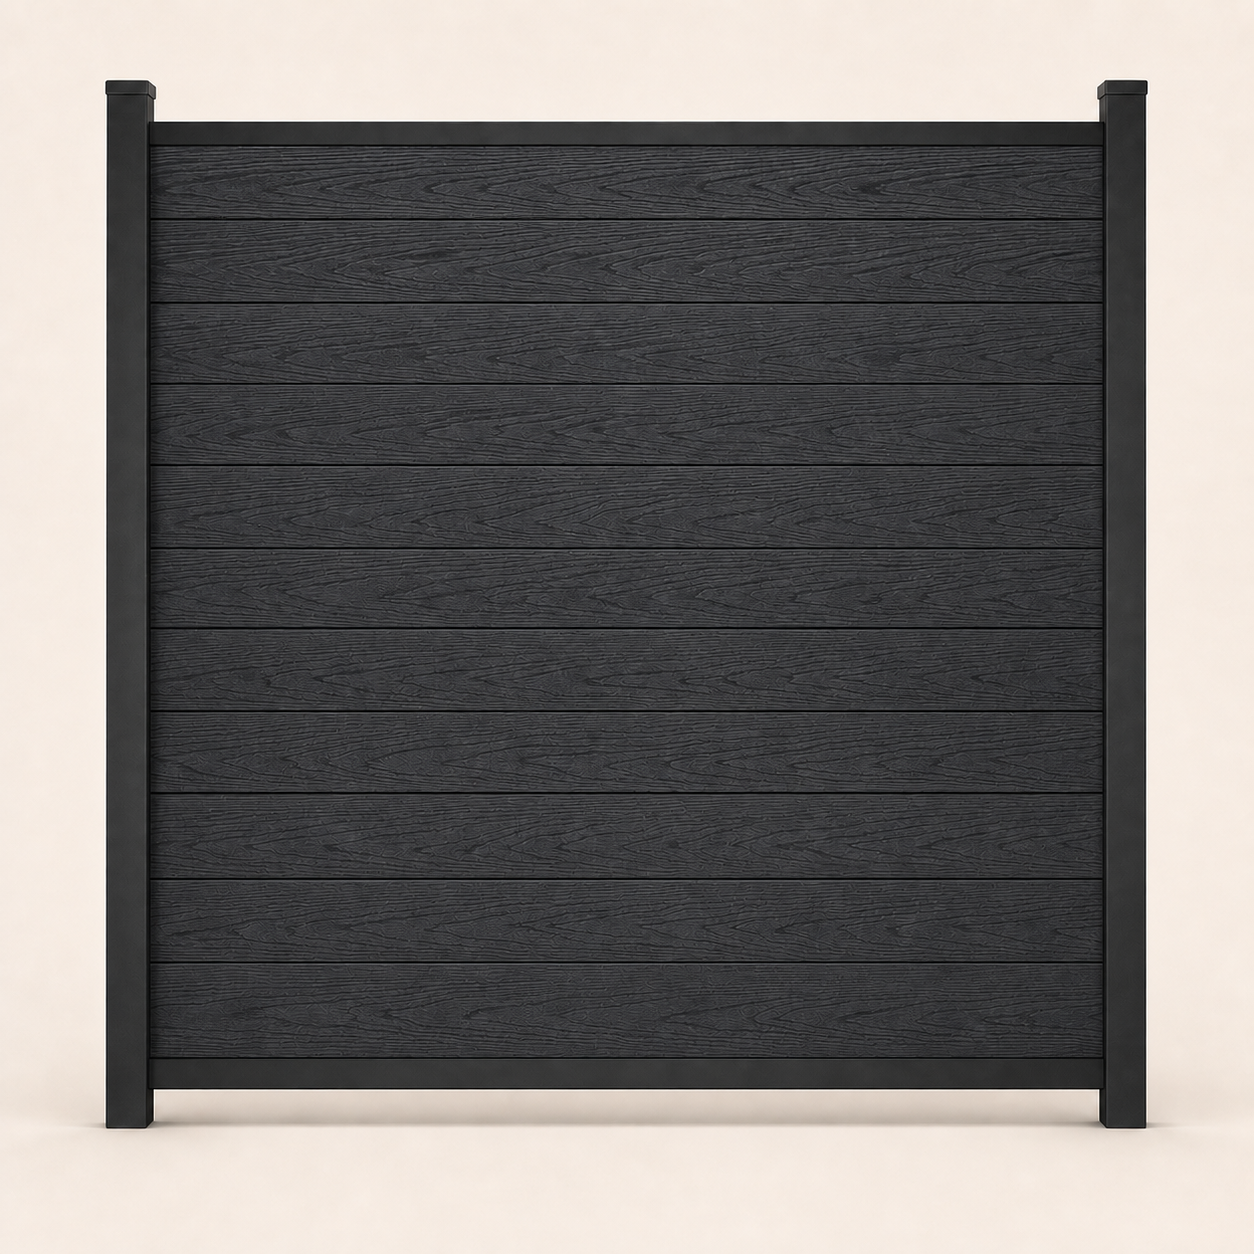
Compoxen supplies horizontal composite fence panels in Utah for homeowners, builders, and professional contractors. Each six-foot fence bay combines capped woodgrain composite boards with coordinated rails, posts, gates, hardware, and finishing components designed to work together.
Each board pairs durable composite construction with a deep, double-sided woodgrain, so both sides of the fence feel finished. A protective outer shell helps resist moisture, UV exposure, rot, insects, and seasonal temperature changes without the painting, staining, or sealing required by traditional wood.
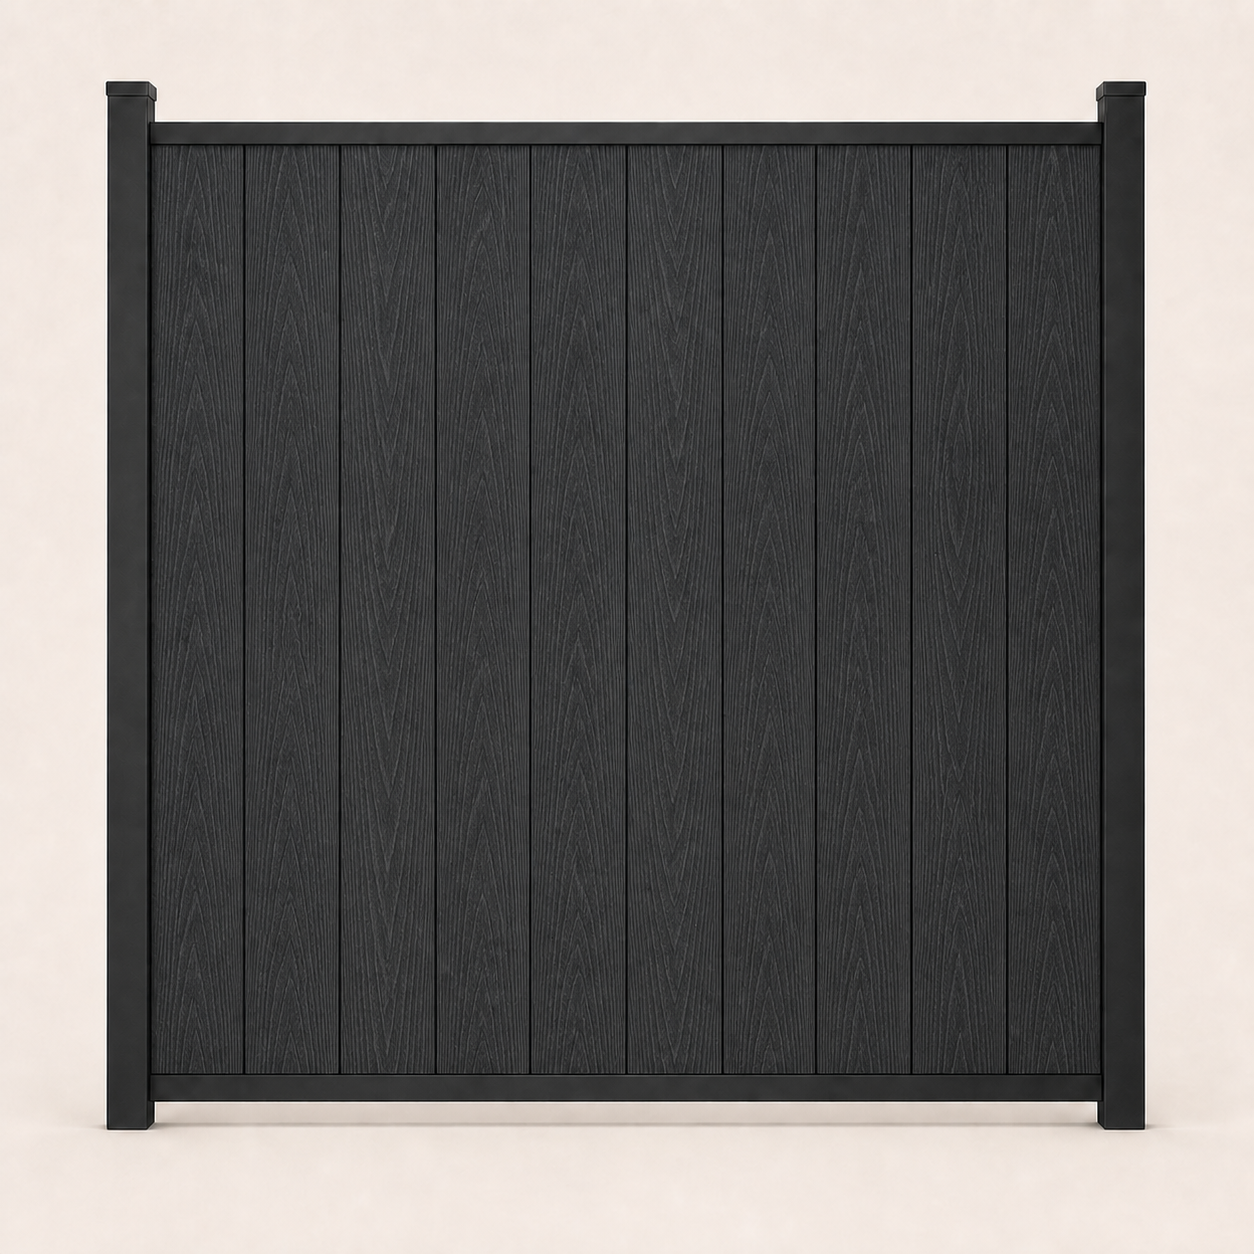
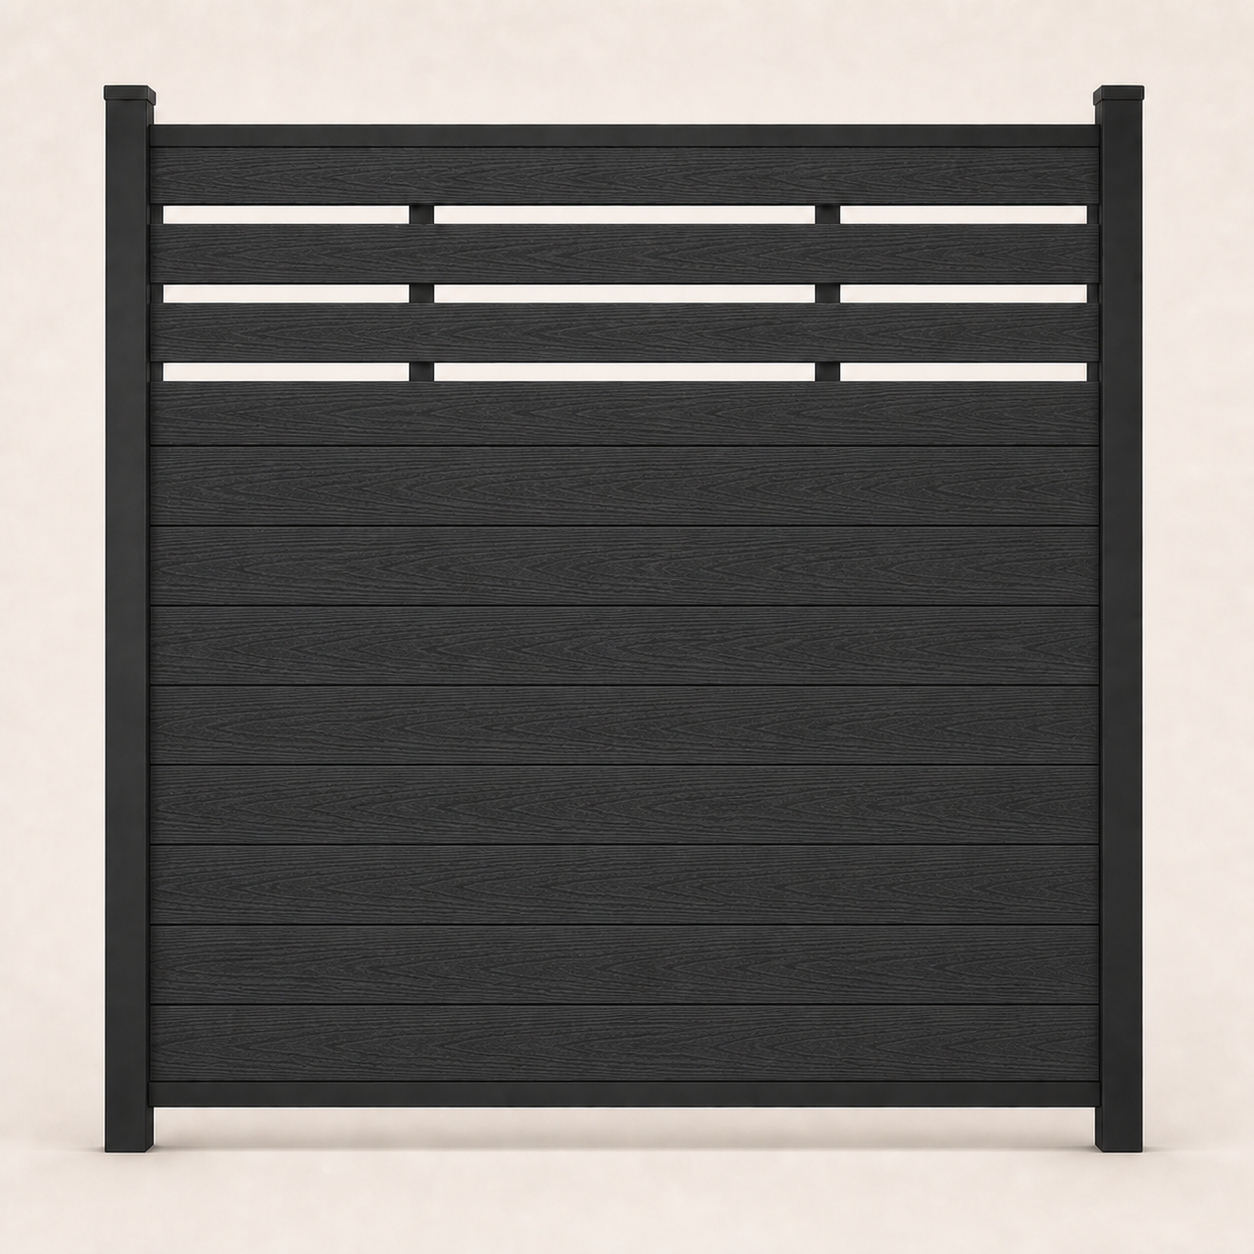
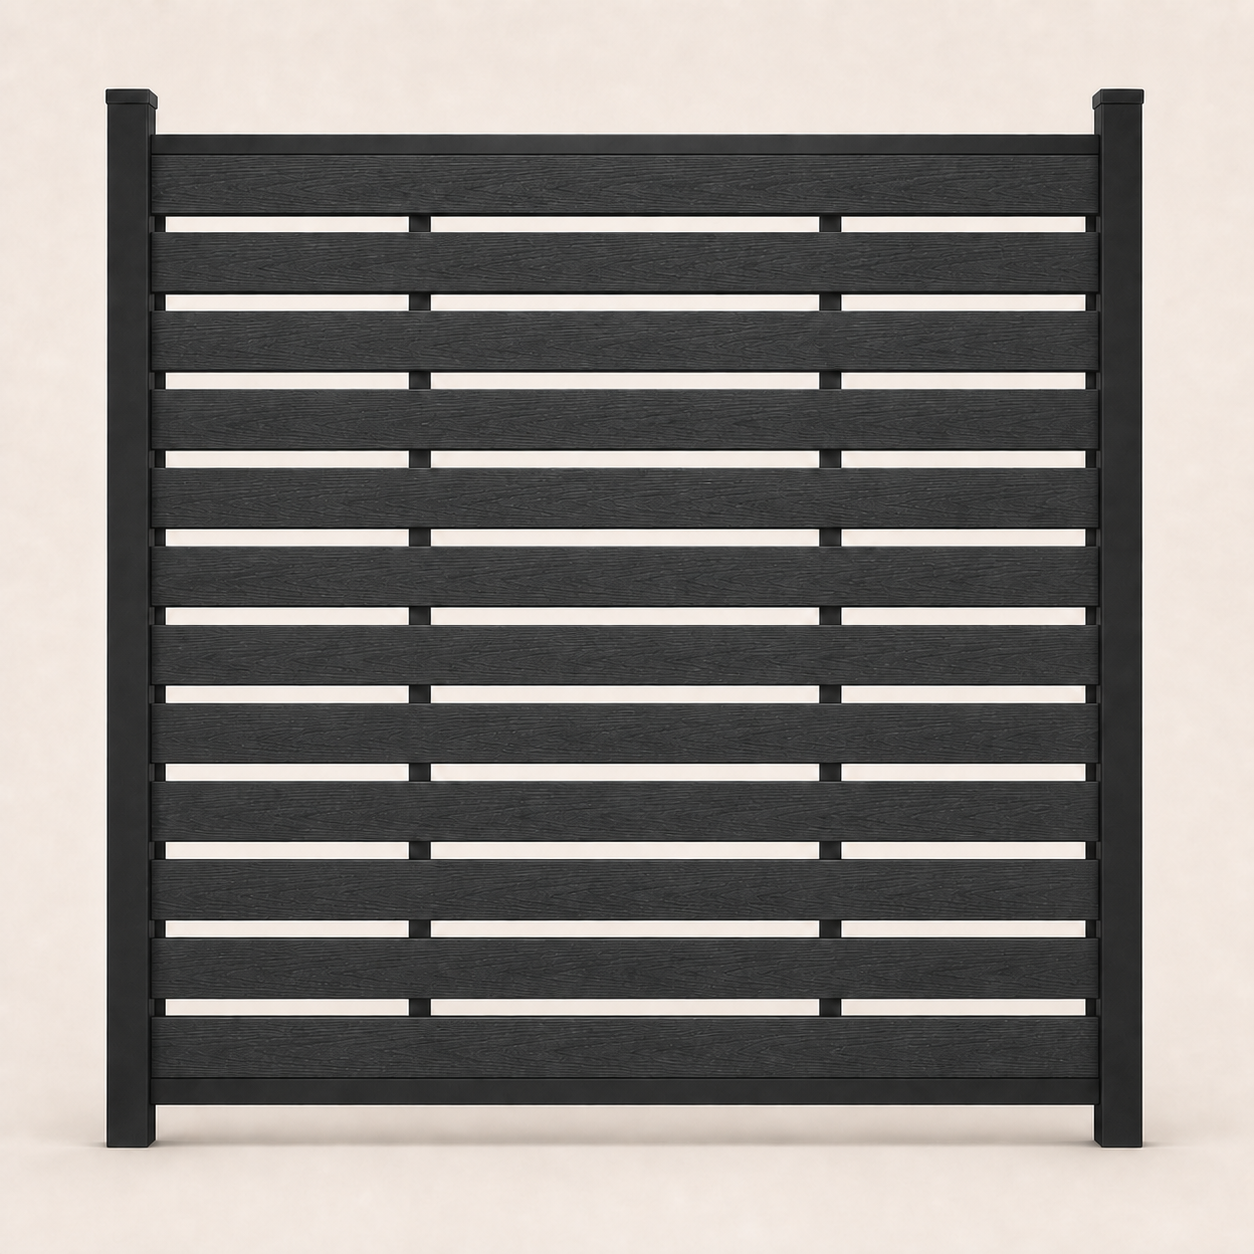
Choose a full-privacy, mid-trellis, or full-trellis horizontal fence style, or select a vertical full-privacy layout. The interlocking board profile supports consistent installation for concrete-mounted or in-ground projects.
Use our fence material estimator to plan quantities, then request and follow the current product instructions and all requirements for your property.
Visit our Draper composite fence showroom to compare finishes in person, or review our Utah pickup and delivery areas before ordering.
Simple installation overview
Choose your post method.
Mount the posts to a flat hard surface or set them in the ground. Once the posts are secure, the panel goes together the same way.
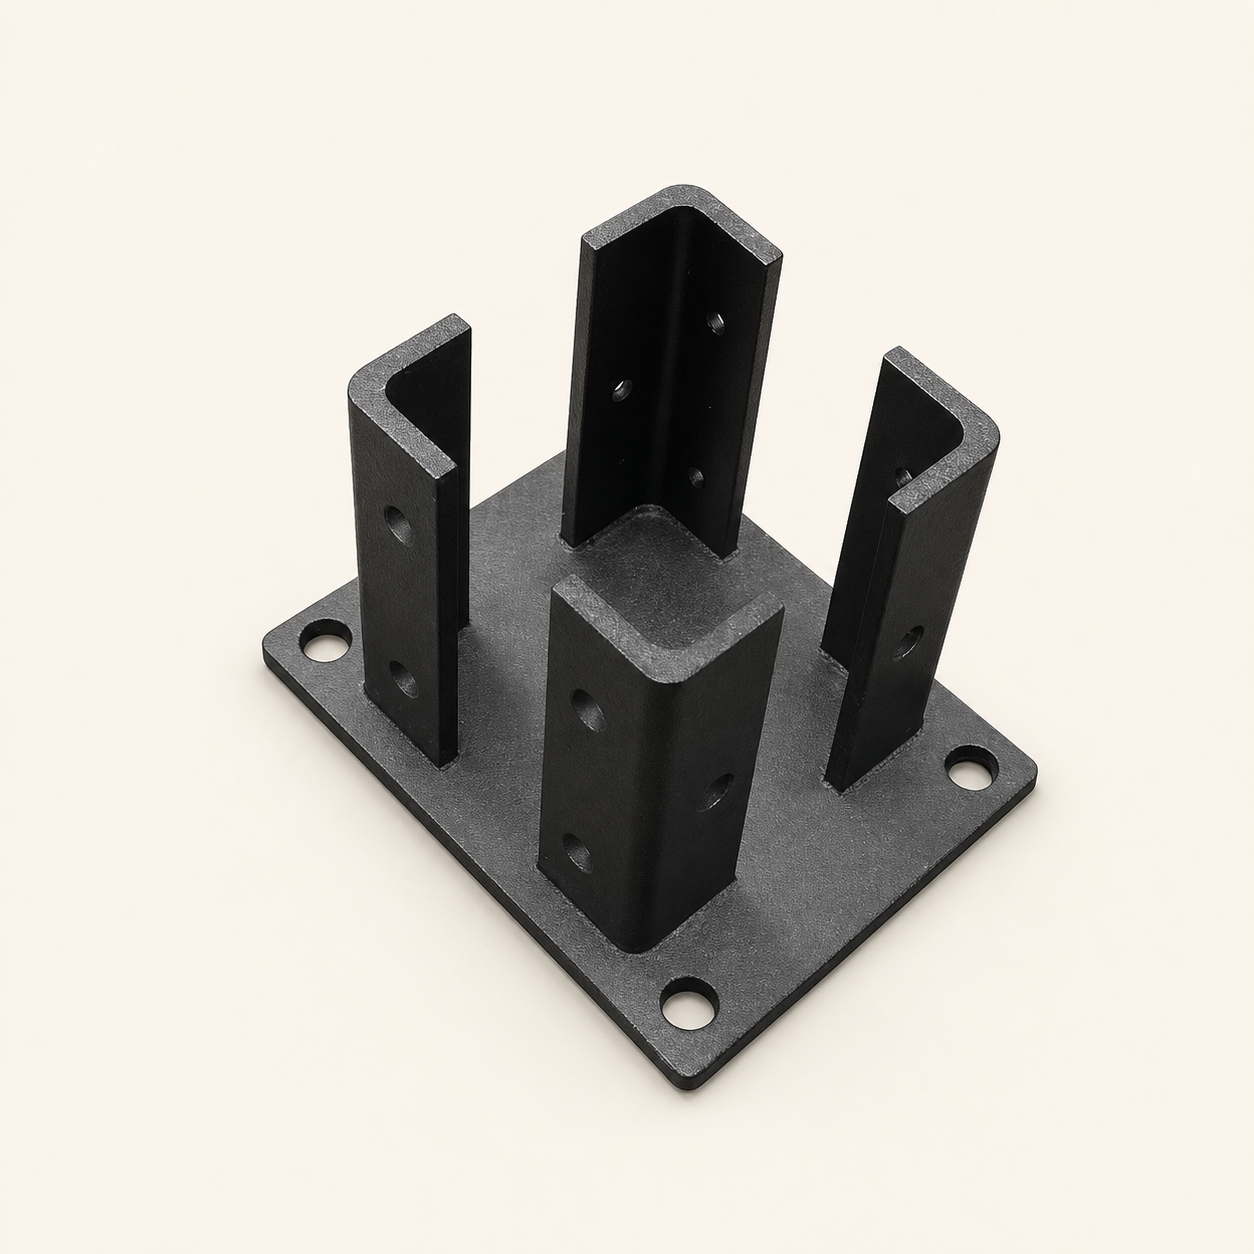
Mount on surface
For flat, structurally sound surfaces.
Anchor the mount-on brackets first, then secure and level the posts before assembling the fence panel.
- 1
Mark the post locations
Lay out a straight fence line and mark every post location using your project dimensions.
- 2
Anchor the brackets
Position each bracket, drill the anchor holes, and fasten it with anchors selected for the surface.
- 3
Set and level the posts
Slide each post over its bracket, secure it, then check that the post is straight and plumb.
 4
4Build the panel
Install the bottom rail, stack the boards and spacers, add the top rail, and finish with post caps.
Set in ground
For soil, landscaping, and new fence lines.
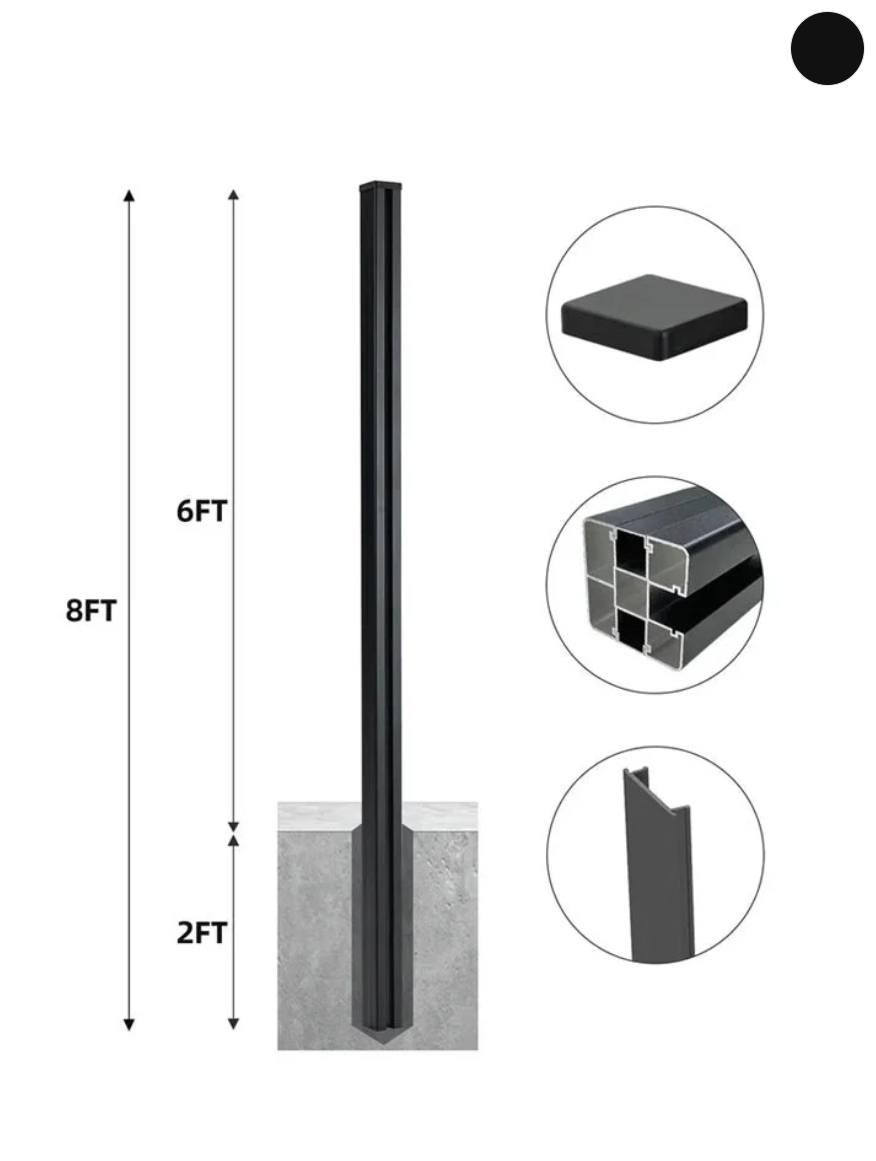
Set the extended posts in concrete footings, allow the footings to cure, then assemble the fence panel.
- 1
Mark and dig
Locate utilities, mark each post location, and dig footings to the size required for your site.
 2
2Set and level the posts
Place the posts in the footings, confirm spacing and plumb, then let the concrete cure as required.
- 3
Add rails and boards
Install the bottom rail, stack the boards and spacers one at a time, then fit the top rail.
- 4
Cap and inspect
Add the post caps, tighten the hardware, and check the finished fence line from end to end.
Planning overview: These steps do not replace the current product instructions. Confirm utilities, post spacing, footing size and depth, anchors, drainage, engineering, permits, and local-code requirements before work begins.
DIY design flexibility
Three styles. Two directions.
Start with the amount of openness or privacy you want. Then choose horizontal or vertical boards to complement the architecture of your home.
Horizontal
Horizontal composite fence in three privacy levels.
Horizontal boards create long, clean lines. Choose full-trellis, mid-trellis, or full privacy to balance airflow, visibility, and coverage.

Full-trellisOpen from top to bottomMid-trellisOpen above, private belowFull PrivacySolid coverage for full privacy
Vertical
Full privacy, installed vertically.
Close-set vertical boards emphasize height while creating a clean, modern privacy fence.

Full PrivacyClose-set vertical boards
Privacy fence boards
Interlocking boards create a clean, solid boundary with a finished appearance on both sides.
Horizontal and vertical layouts
Choose the direction that best matches the proportions and style of your home.
Coordinated rails & trim
Matching top rails, bottom rails, caps, and finishing details complete each fence bay with crisp, consistent lines.
Posts, gates & hardware
Compatible structural and access components make it easier to plan corners, end posts, and entry openings.